

We are getting to the end of the spring flush. This means that the weather is getting hotter and drier, so the grass growth slows down. If we irrigated the pasture we could probably keep it growing longer, but irrigation of two acres of pasture would be very expensive, so we do not do that.
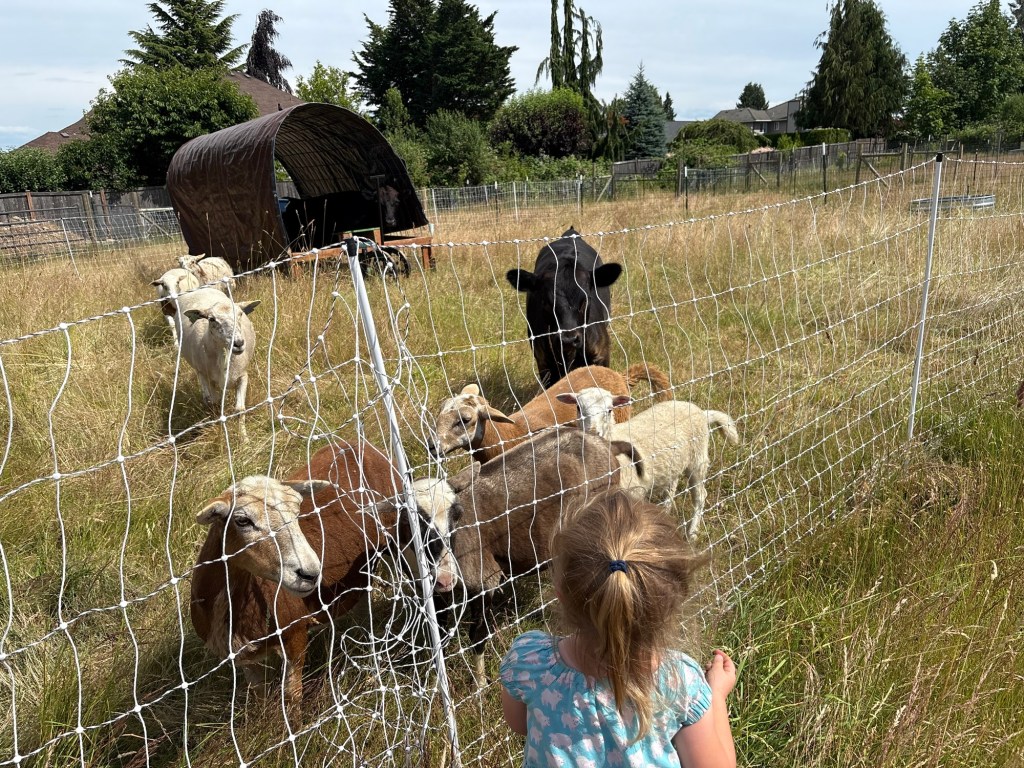
Of course the animals still get hungry. They don’t like the grass as much, now that it has mostly gone to seed, but this is a small farm for poor animals. They can’t be too picky. Also, this is the environment they live in, so an animal that can’t thrive in this environment is not much use to us. We will have to buy in hay again, but hopefully not too much.

We are irrigating one small corner of the pasture. That is the area that was overgrazed last year. This area I seeded with a pasture mix, and I have it on a sprinkler that turns on when the animals are being watered in the morning, and is off the rest of the day. No grazing will be allowed on this section until fall. By then, hopefully, we will have a good solid stand of green.
Now it might be a good question whether we would spend more on irrigating than we do on buying hay. The answer is, I don’t know. We’ll see how this one section does over the summer, and that might give us a clue as to whether the cost conversion would be effective. I highly doubt it, though.
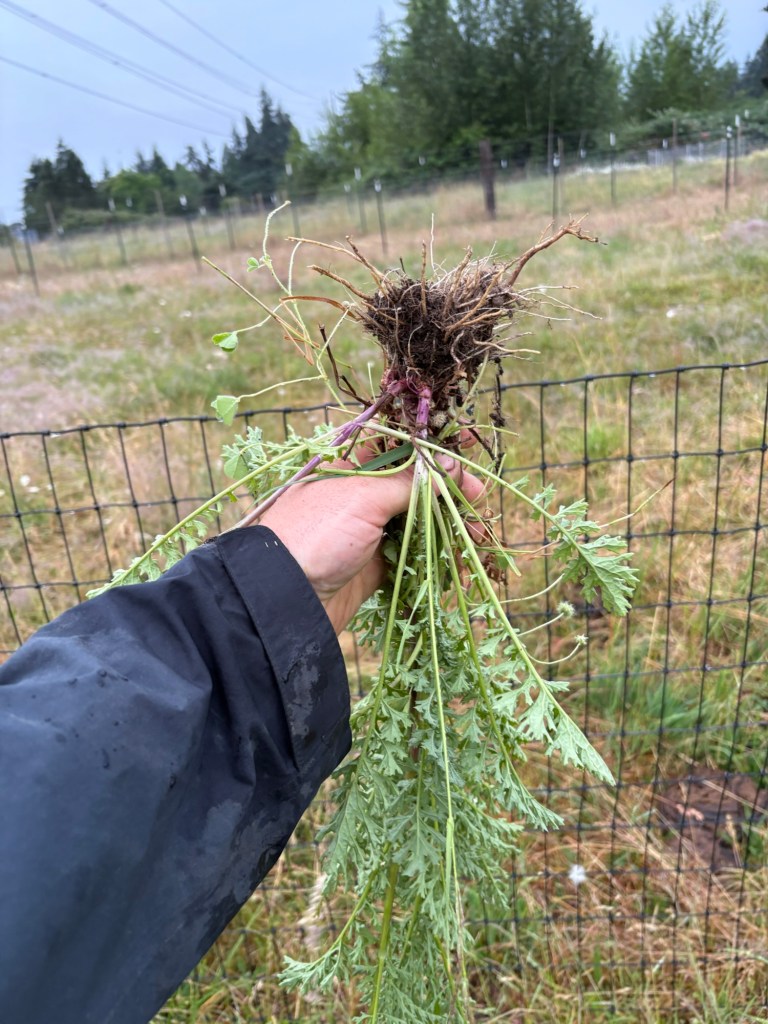
Another fun part of the dry spell is that while the cool season grasses that make up the bulk of our pasture species go dormant, the perennial weeds do not. Thistle, hemlock, dock and tansy ragwort all continue to go through their cycles without a hitch.
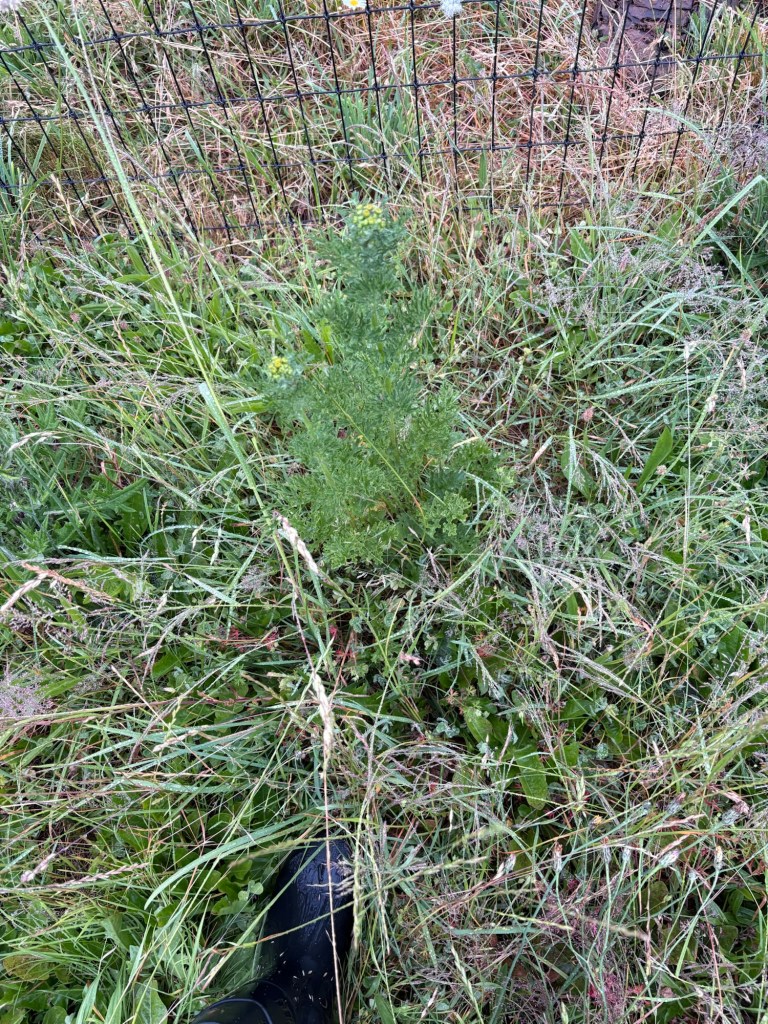
Tansy ragwort is an up and coming problem in our pasture. There seems to be more of it popping up than their was last year, though that may only be because I am paying more attention to it.
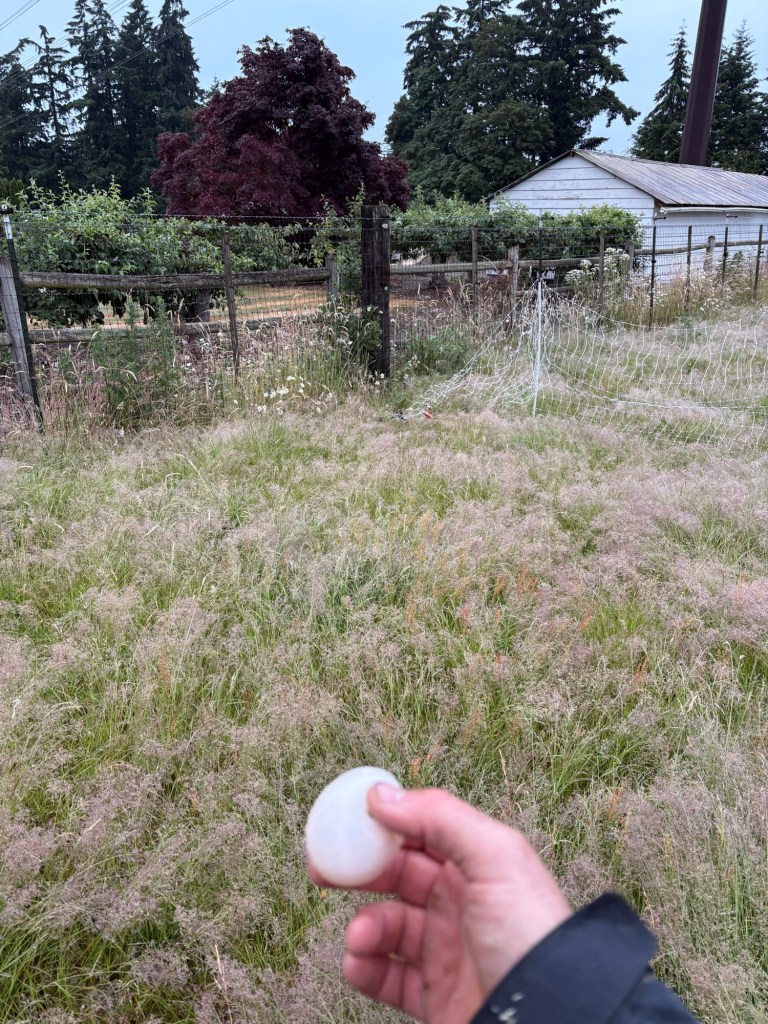
You see all kinds of things one the ruminants eat the grass down a bit. Like old duck eggs that we missed the first time through.
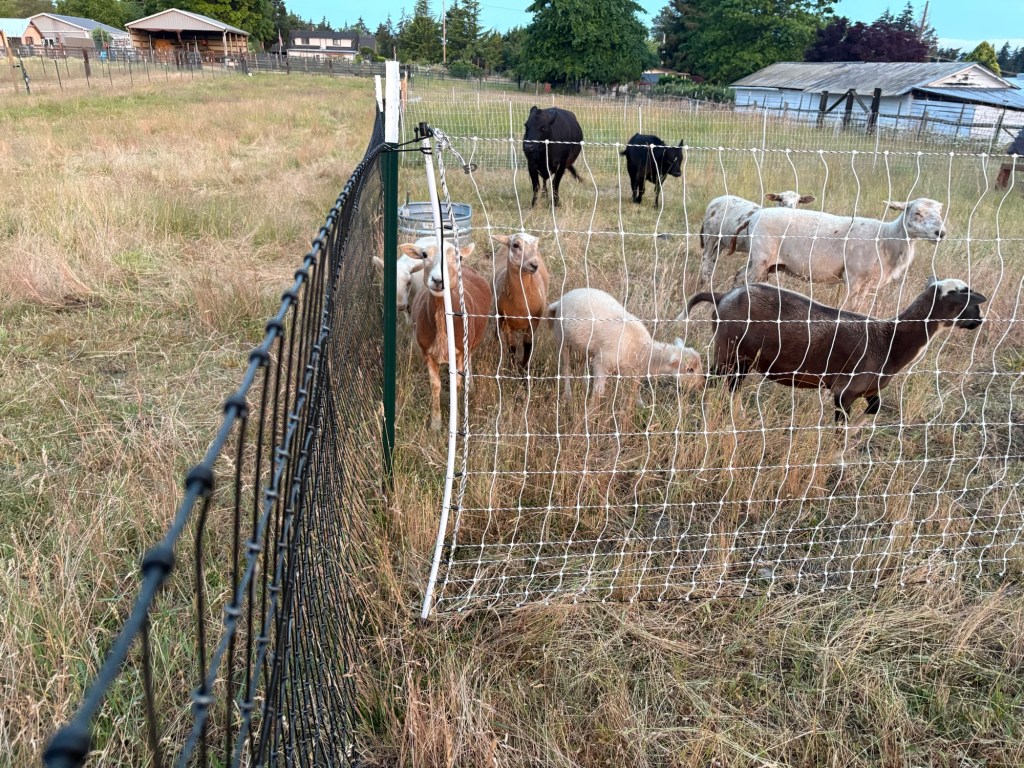
I am also paying attention to the fence we put in last year. This was the first of the middle fences, the one that runs through the north pasture. We had some friends come in and help out with it, which allowed us to get it put up all in one day. One the other hand, because I was rushing to get it all finished in one day, some steps were overlooked in finishing it.
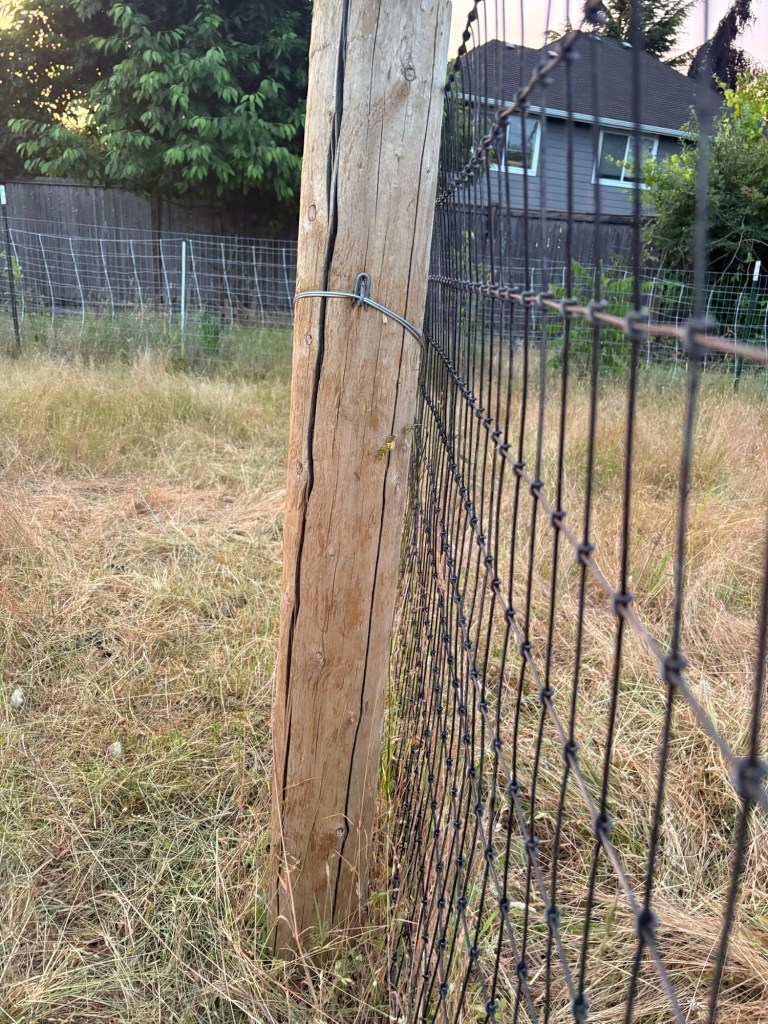
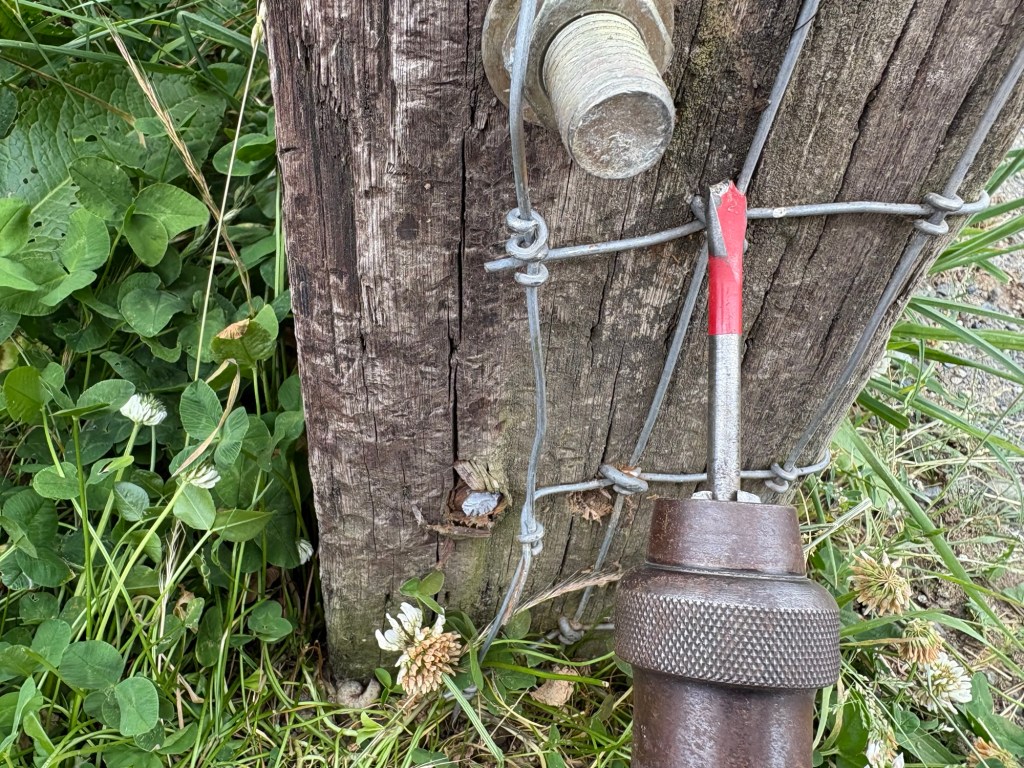
For instance, it wasn’t stapled to this wood post.
Several of the wire clips were missing. This might be because they were never put in, but I think that is unlikely. More likely they were not wrapped, but rather just clipped around the fence.
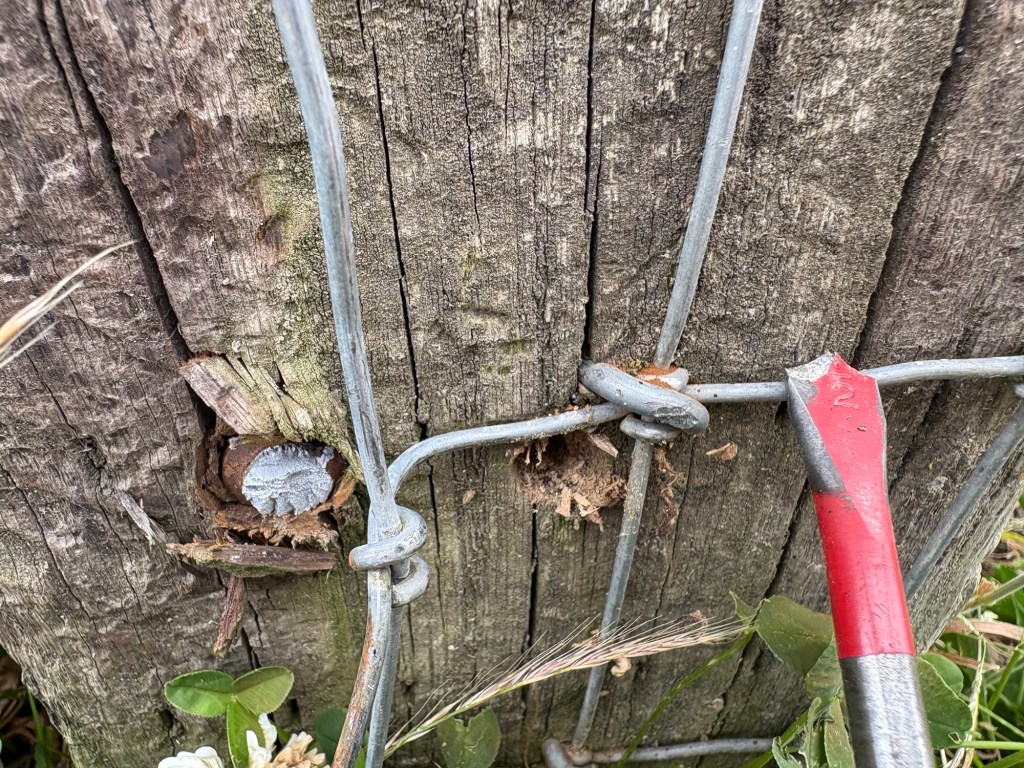
This is an example of a clip that was clipped, rather than wrapped. Incidentally, it is very difficult to get them on like this. I am not sure how they even did that.
But as you can see, the hooks on the clip are loose, just hooked over the horizontal wires. This means that when the animals (cough “Iris” cough) scratch against the woven wire fence, they rub back and forth, stretch and relax the wire, and eventually one end unhooks and the whole thing comes bouncing off.
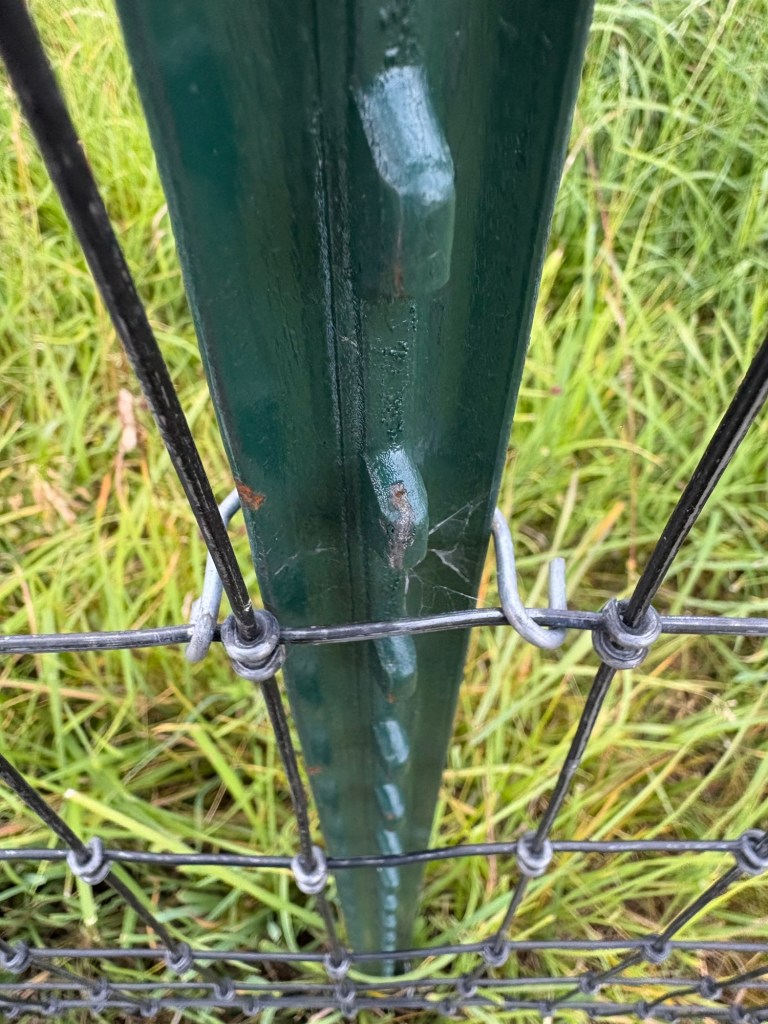
This is an example of the proper way to put them on. Although the manufacturers recommend three clips per T-post, that is for a conventional pasture situation, where the animals are only ever going to be on once side of the fence. In that case, the pressure of the animals rubbing against the fence pushes the fence into the T-post and the knobs on the post keep it from sliding up and down. However, in our situation, animals run on both sides of the fence. What I have learned from building the south pasture fence is that 5 clips per post holds up much better. Last Saturday morning before work I put 5 clips per post on half of the north pasture fence, but didn’t have time for the other half.
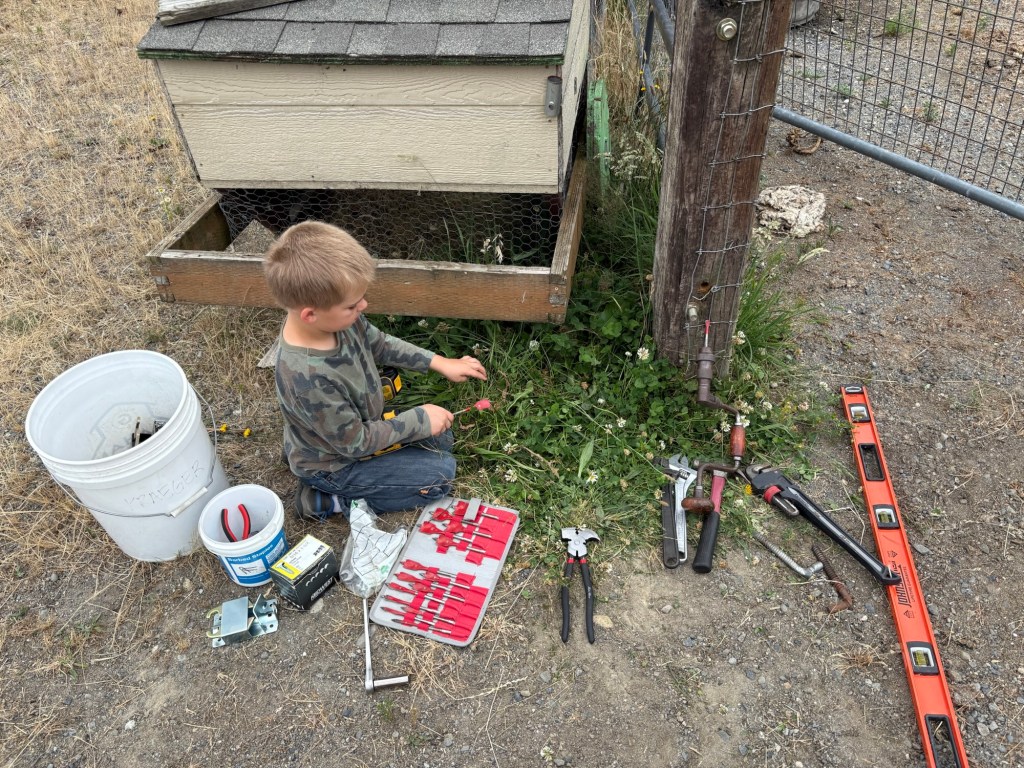
On Tuesday I wanted to get to fixing fence, but we had a whole bunch of errands to run. By the time Seppi and I got to it, it was already 2 PM.
I wanted to put latches on the gates We started at the first gate we came to, but things did not go quite as planned.
The gate was too close to the lintel to add a latch, so I had to take it off and tighten in the hinge bolts. While tightening the bottom one, it snapped right off. So then I had to get a new bolt from the shop and drill a hole for it. While doing that the spade bit got stuck in the hole, and while trying to get it out, I broke that off.
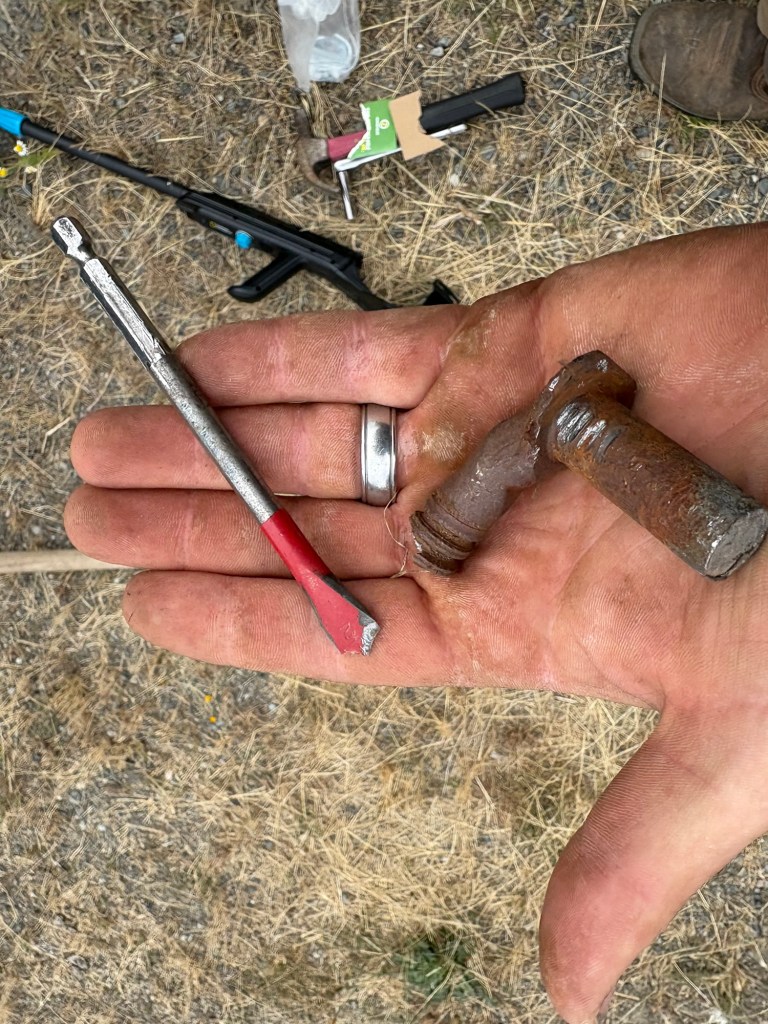
So then I had to drill a second new hole, and the battery died in the drill. So I finished it with the brace and bit.
But now the gate was too close to the bolts coming through the post from the other side, so it wouldn’t open all the way, so I had to cut the end off one of the bolts (shredded the teeth on the multi-tool blade, so I finished it with a hacksaw), and detach the panel on the other side to remove the second old bolt.
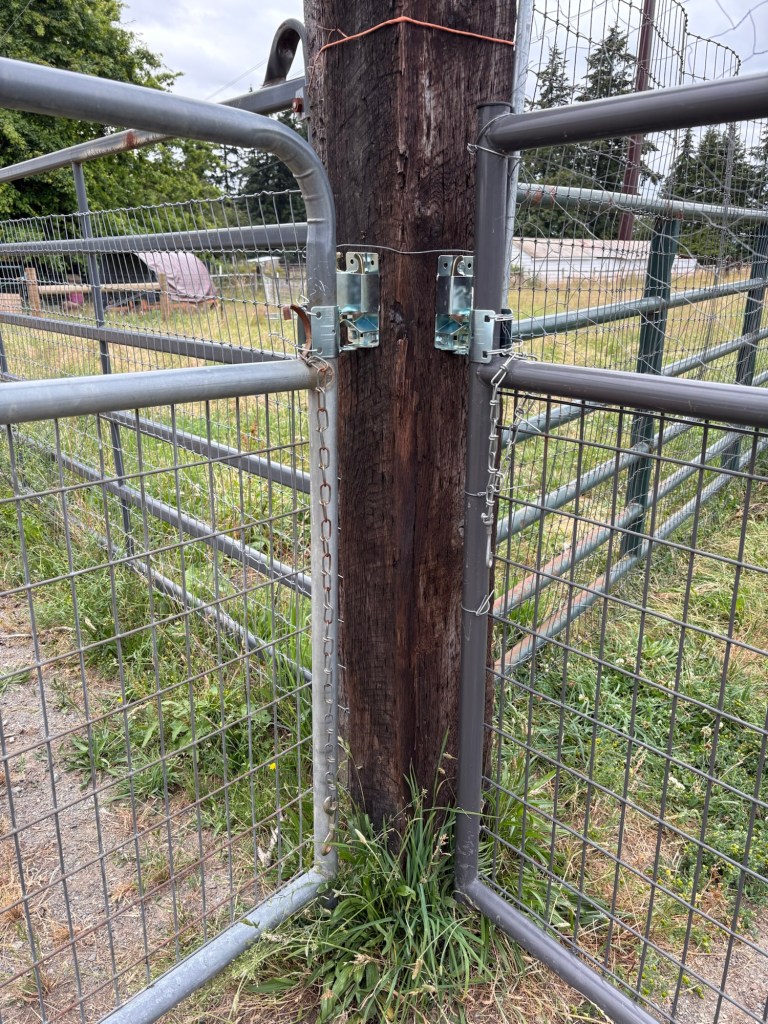
So a twenty minute job turned into a two hour job. It happens. But there are now two beautifully latched gates between the barnyard and the laneway. So that’s good.
