

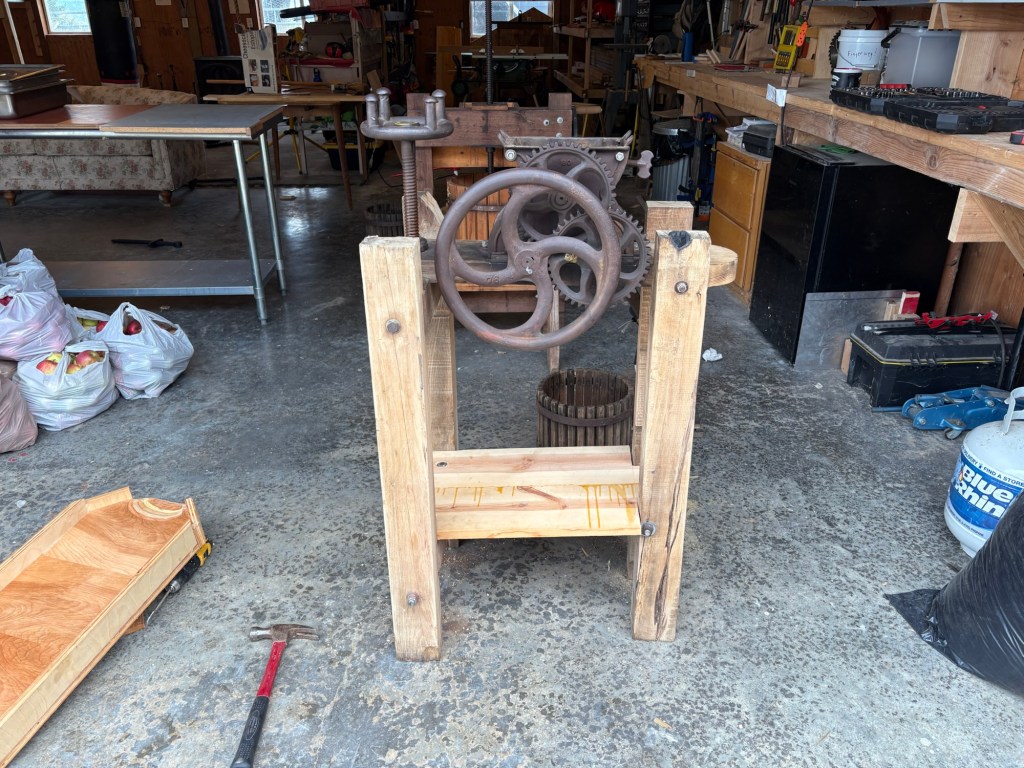
The last weekend before Cider Fest, Mommy and Daddy and Winnie drove down to Chehalis to buy a new cider press. It was in very decent shape for being over a hundred years old, and it was a fun outing.
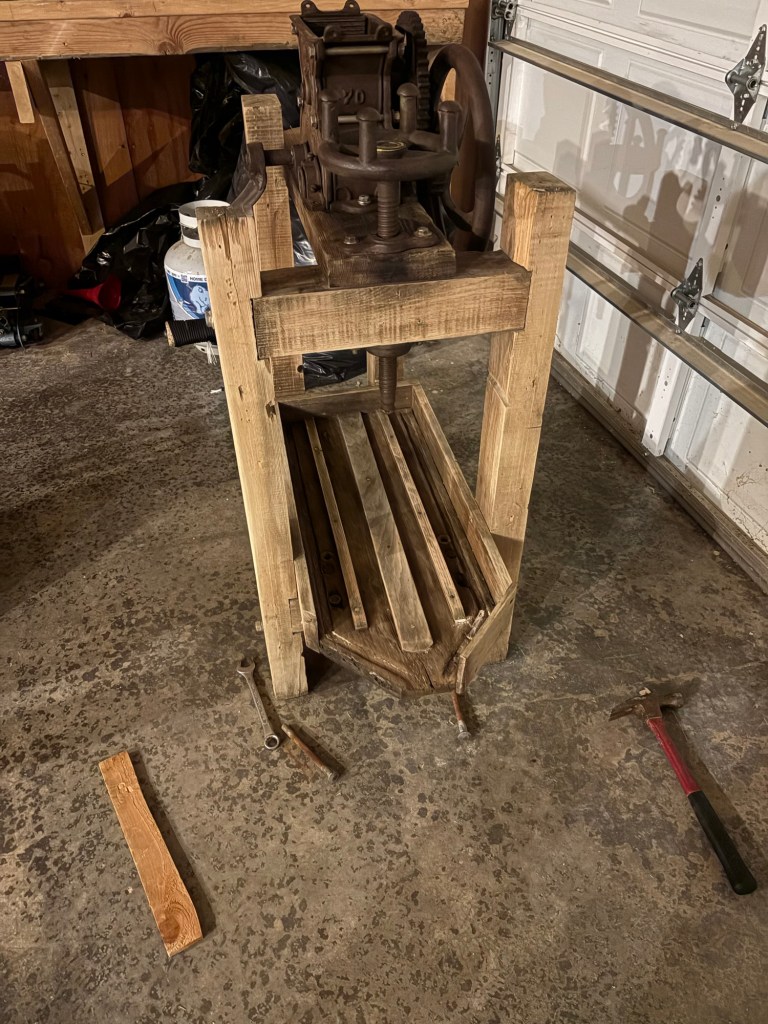
Unfortunately, when trying to replace the guide on the spout end of the tray, it turned out the wood was old and rotten.
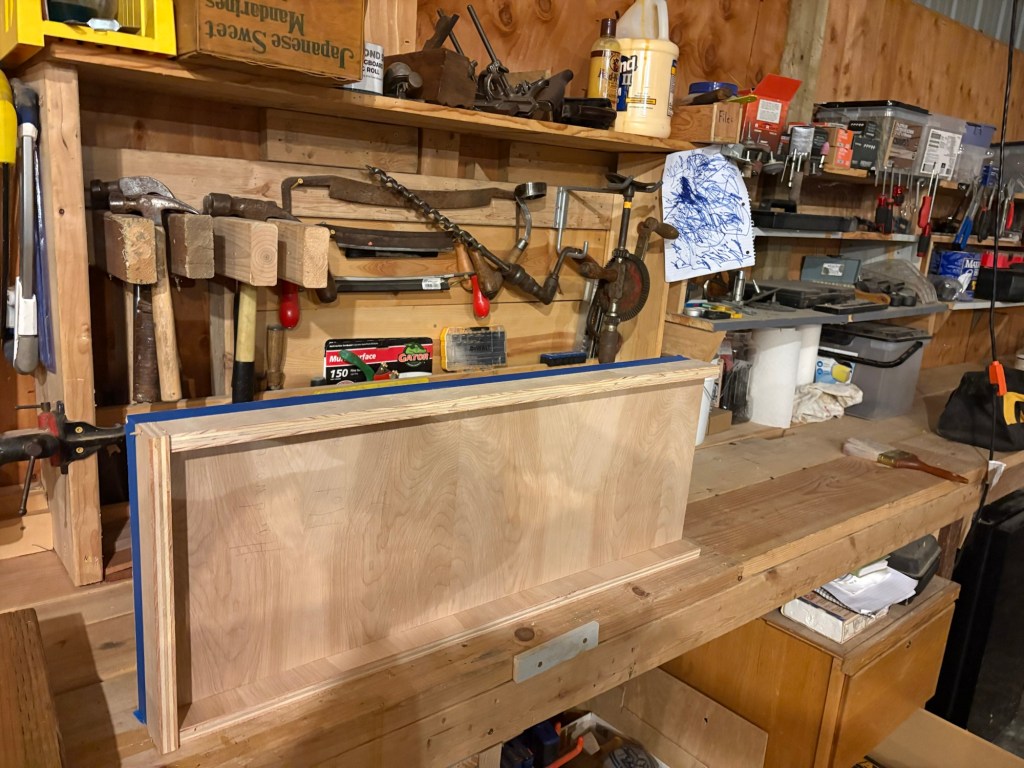
So we took the tray off the press. Initially I thought about trying to repair it, but the wood had too many rotten spots, and there was some mold in the juice channels. It looked like getting it clean enough to process cider was going to be more trouble than it was worth.
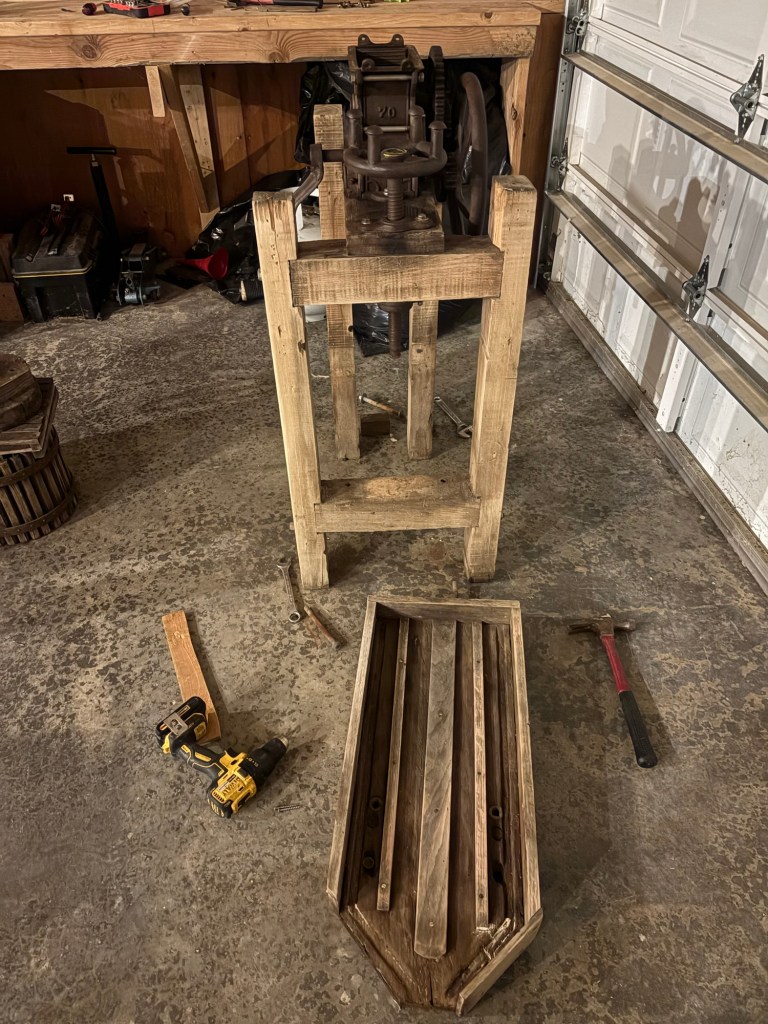
So instead of doing a workout on Thursday morning, I built a new tray.
I had some leftover hardwood plywood from the drafting table project, and the table saw miter guide project, so that’s what I used. Would hardwood planking with hand crafted joinery be more authentic on a 19th century cider press?
Yes. It would also have taken several days that I didn’t have.
I made the bed double ply to withstand the force of the press itself. This is not necessary under the hopper/grinder, but under the screw it is definitely better to over build rather than under build.
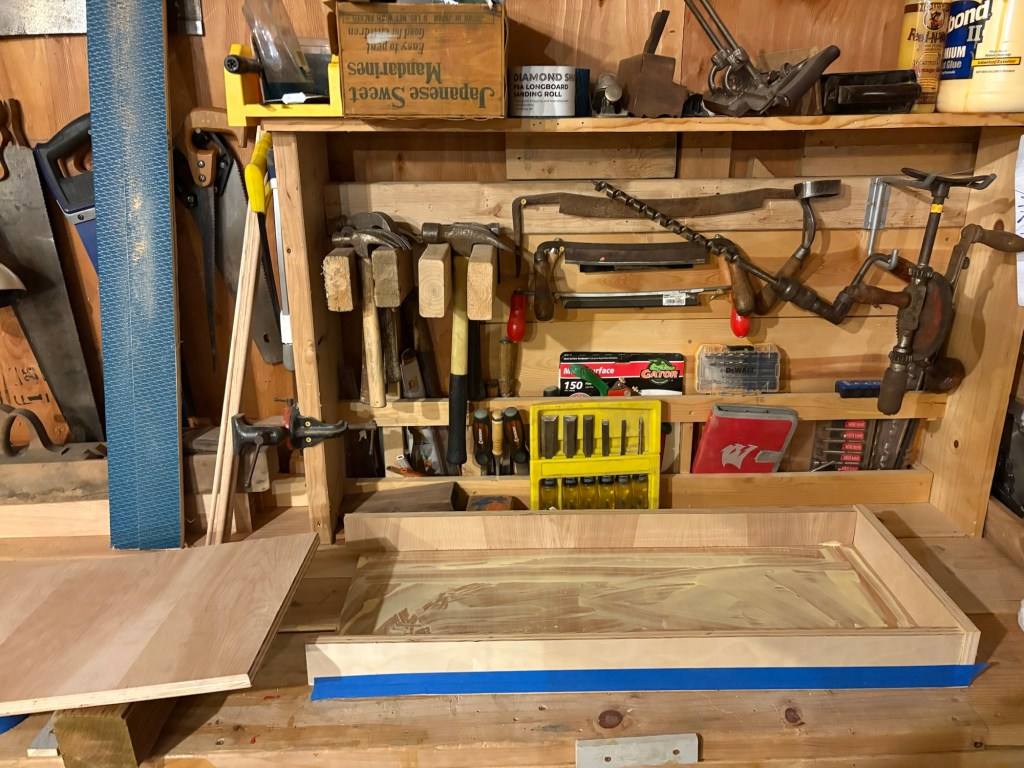
No measuring, I scribed the whole thing.
This means that all the measurements were direct transfers from structural components using the square and straight edge. This is surprisingly fast and accurate once you get the hang of it. More accurate than measuring, to my mind.
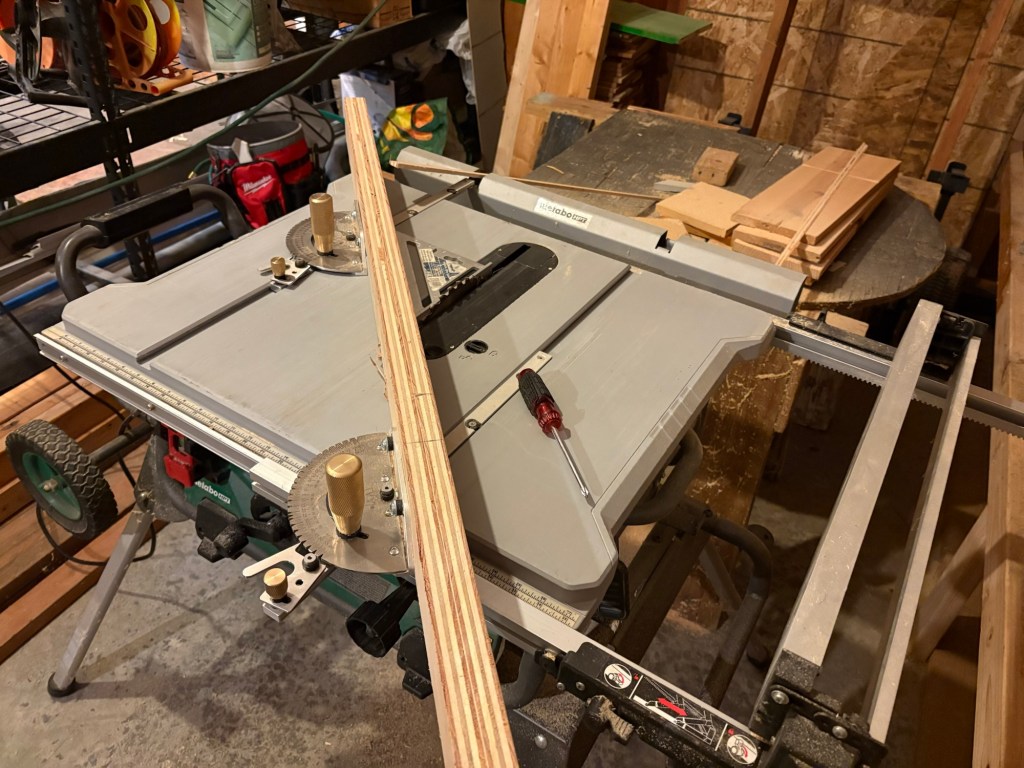
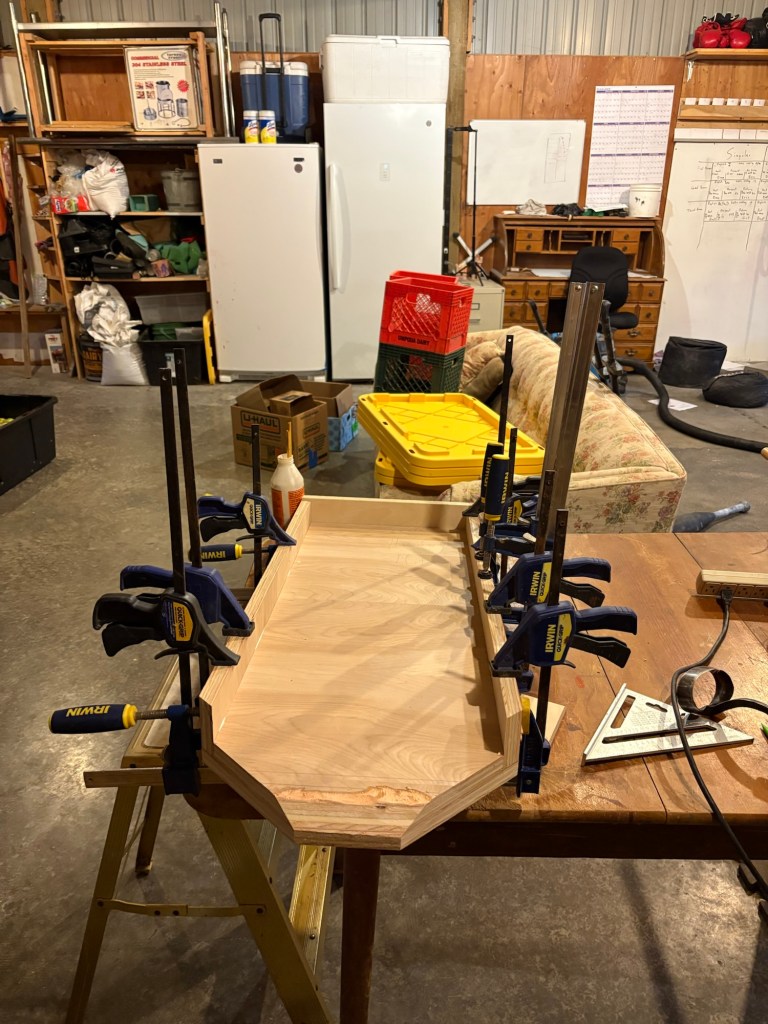
The miter guide made short work of the 45 degree cuts, and kept my square cuts square.
Gluing on the posterior fence.
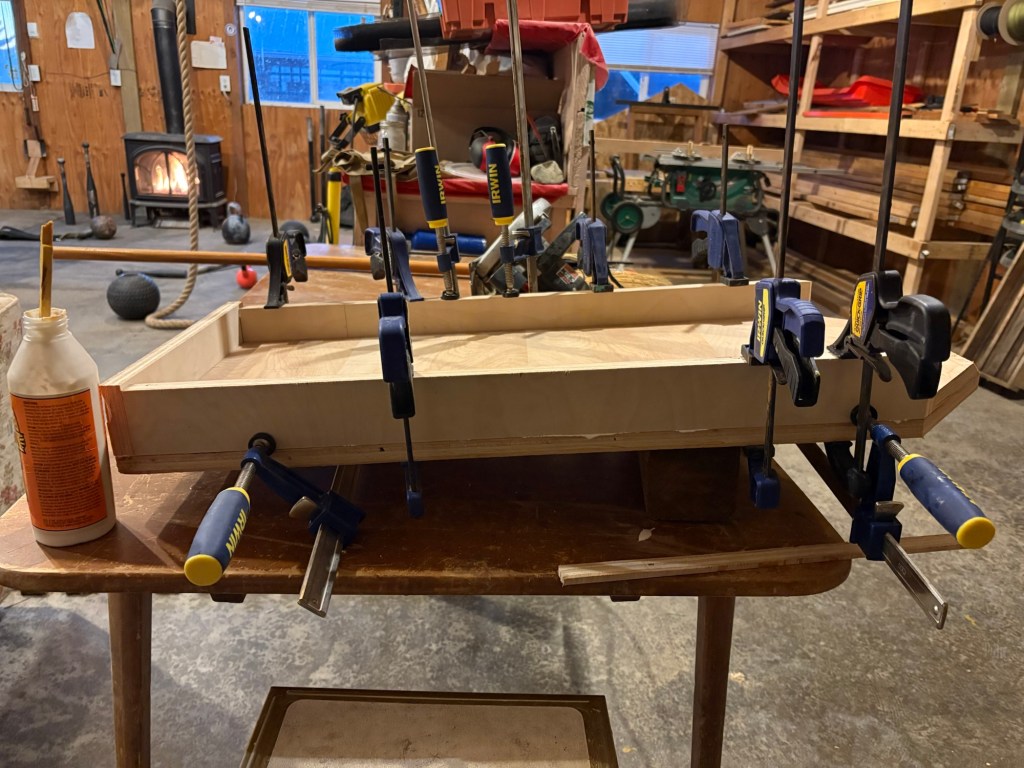
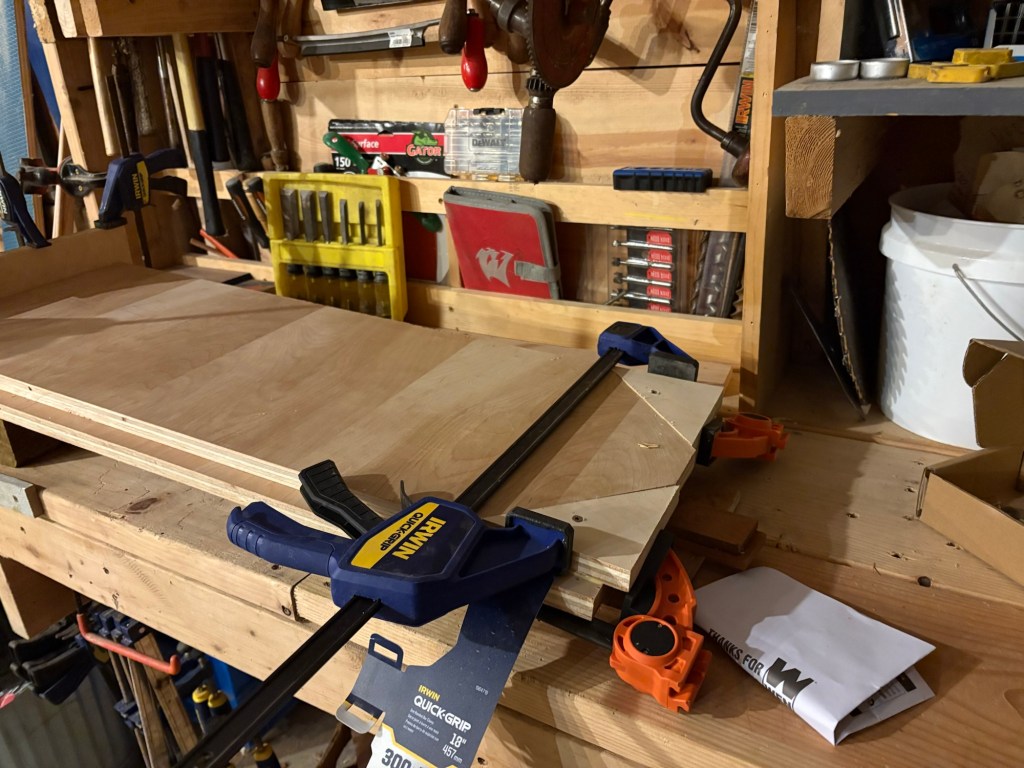
The side fences were a little problematic. I prioritized sealing the inner seam, which means the first clamps I put on were the side to side clamps. By the time I got to the top/bottom clamps there was one stretch of seam on the left side that just wouldn’t close no matter how I cranked the clamps.
You can see it in this picture.
Oh well. It is what it is. It won’t leak.
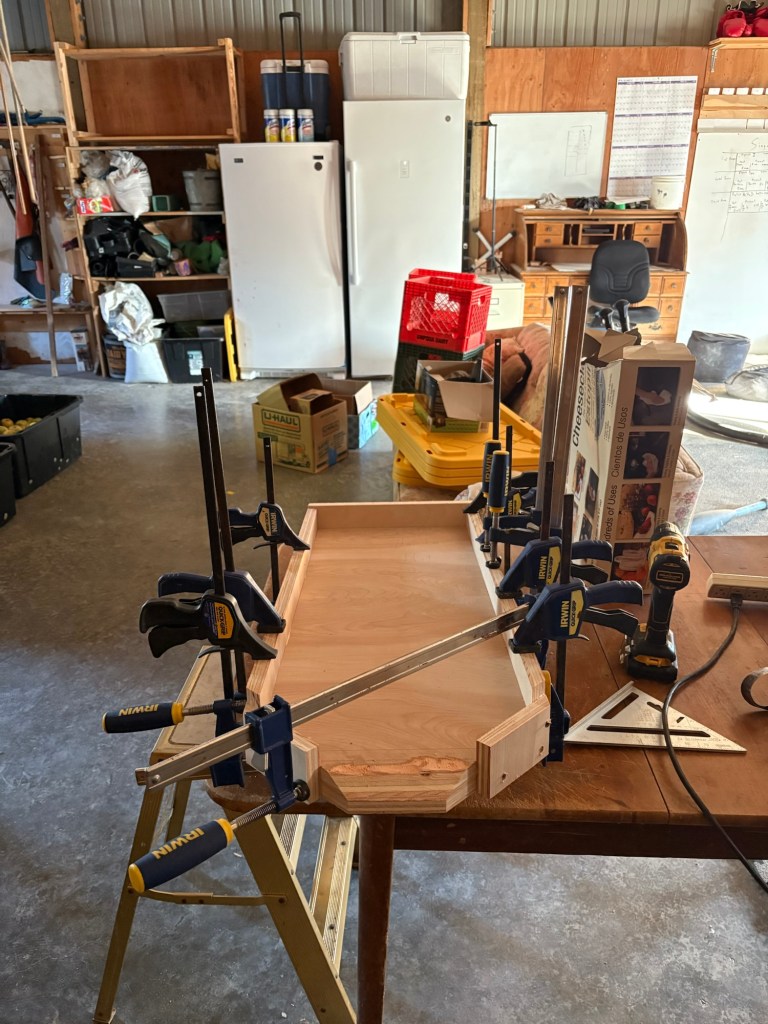
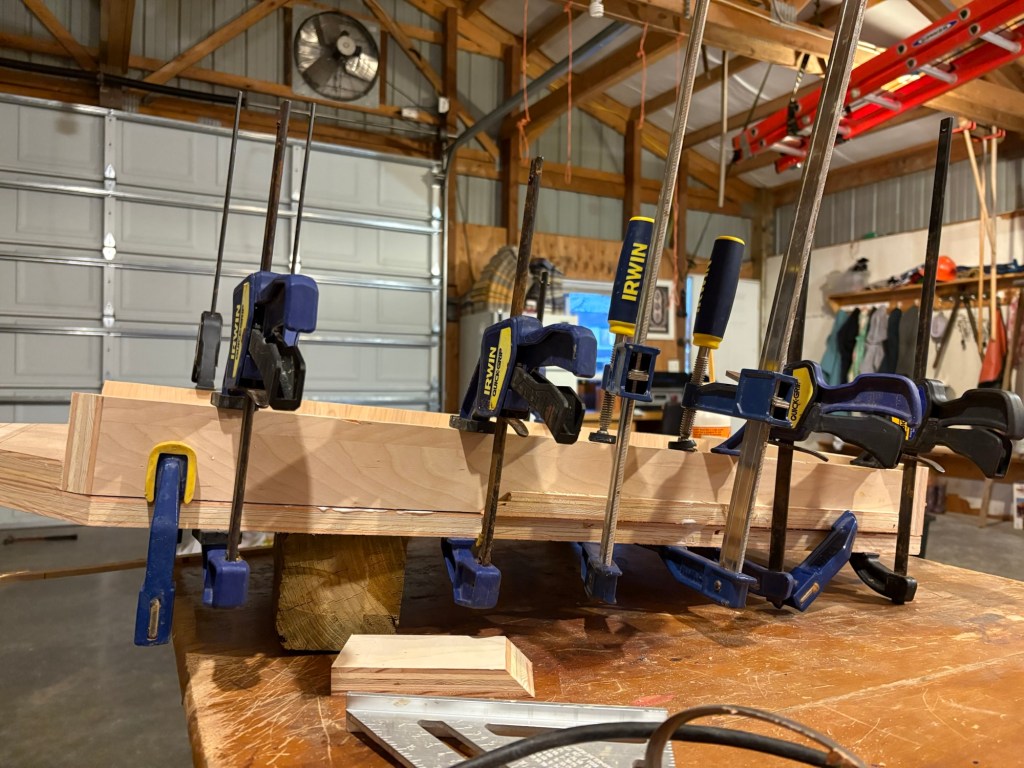
I was running out of time (you can see the daylight in this photo) so I used screws to draw in the side fences on the angled portions. Unfortunately, screwing into the end grain of plywood is not reliable, and two of the screws wouldn’t draw, so I had to rig up a clamp anyway, and it didn’t actually save any time. Lesson learned.
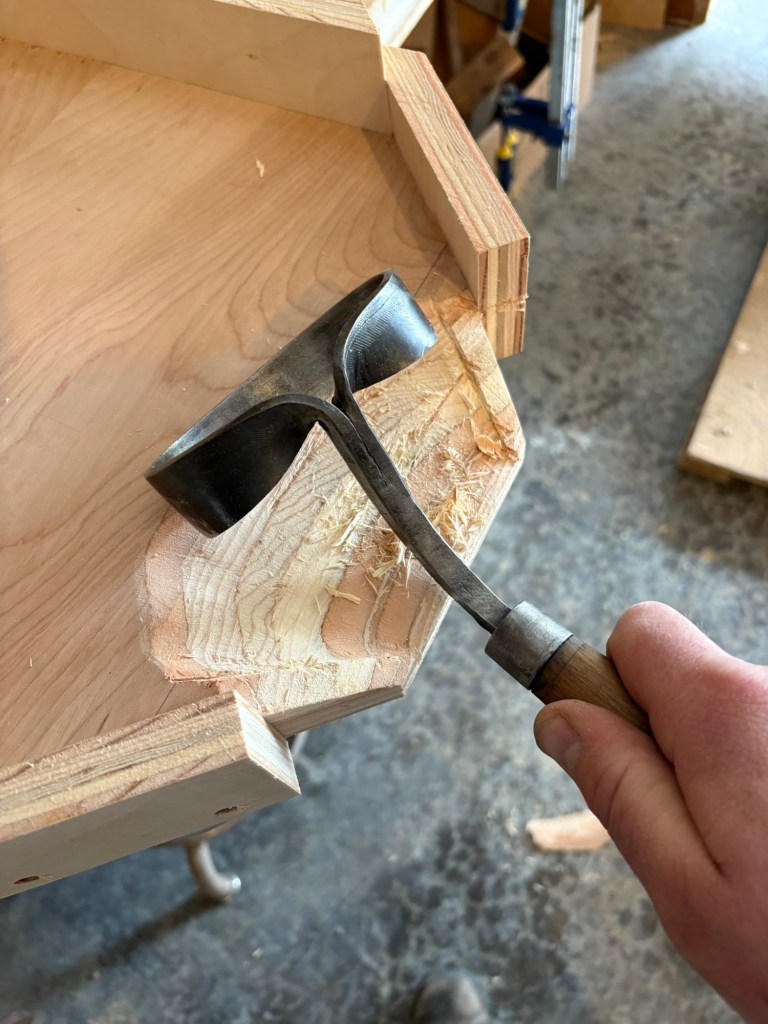
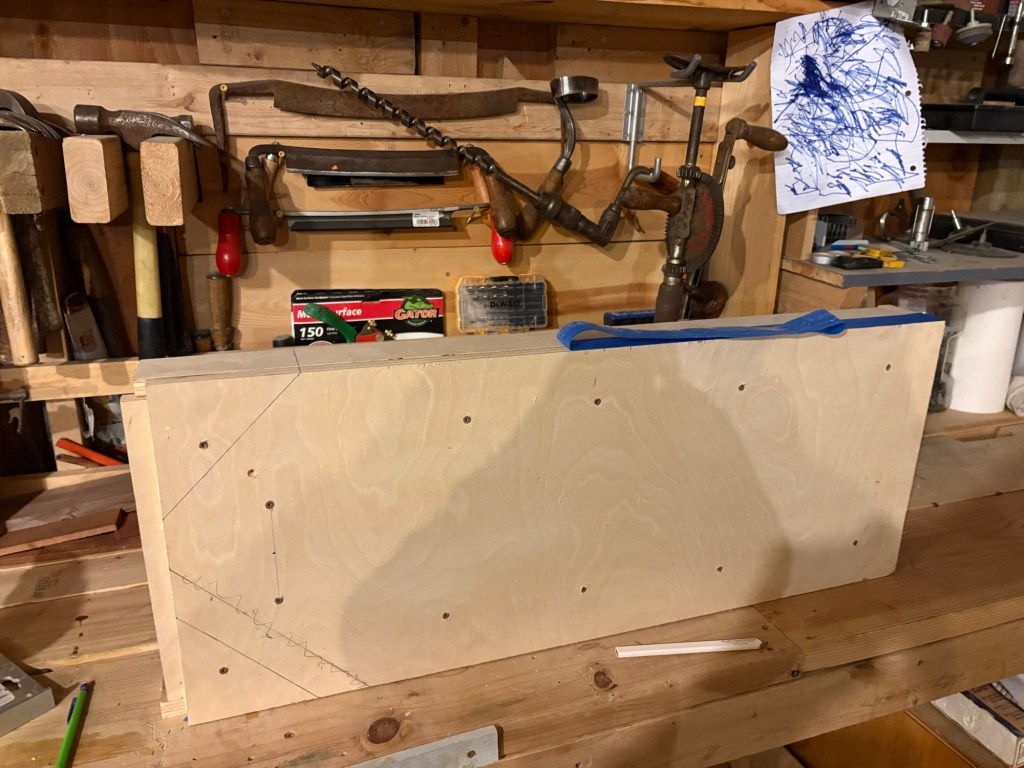
Later in the day, I cut out a run out channel. The scorp that Kathleen got me for father’s day was quite fast and efficient for the layers that it was going along the grain. Less so when going across the grain. It wasn’t designed for plywood, and I need to put some time into sharpening it.
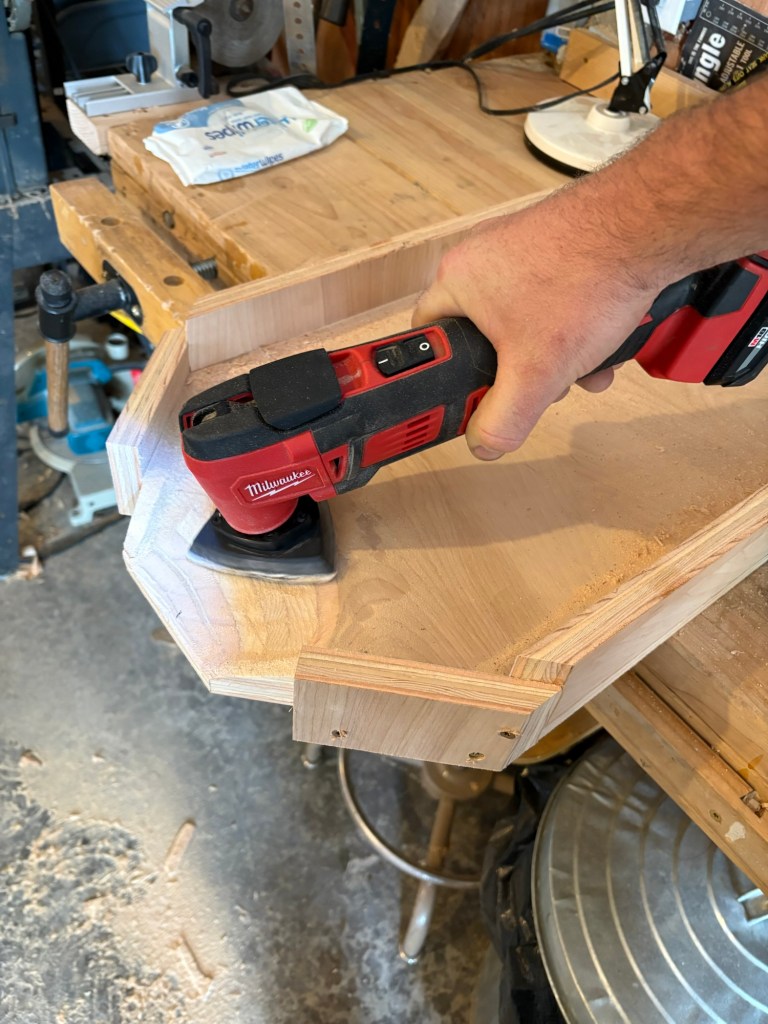
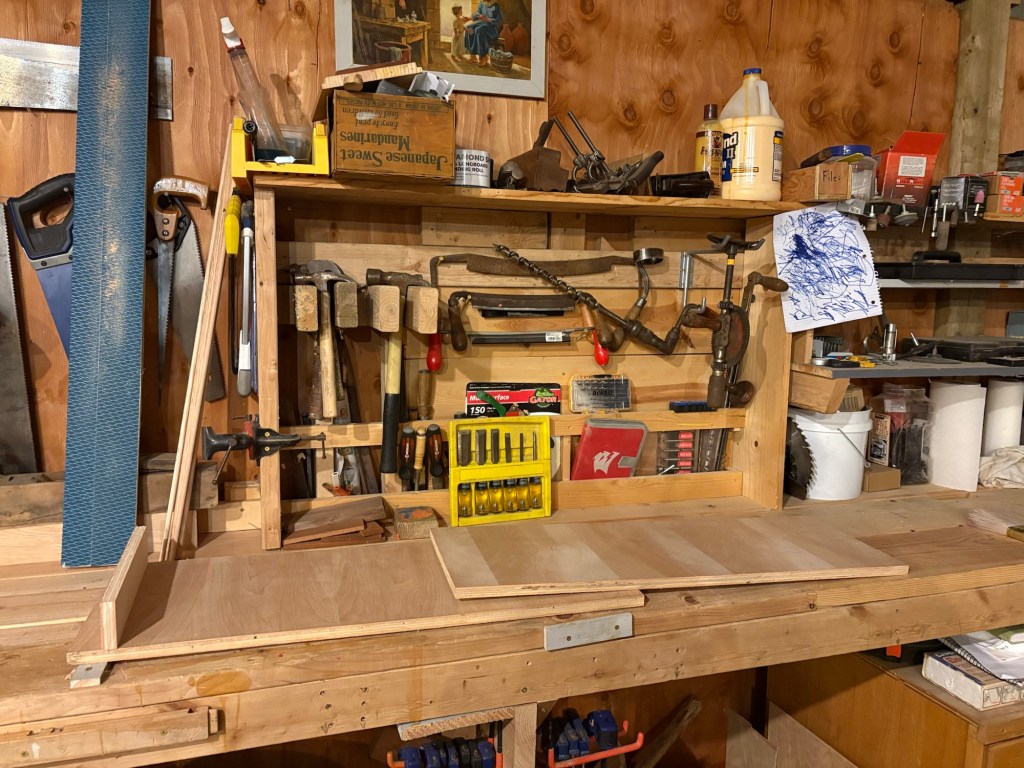
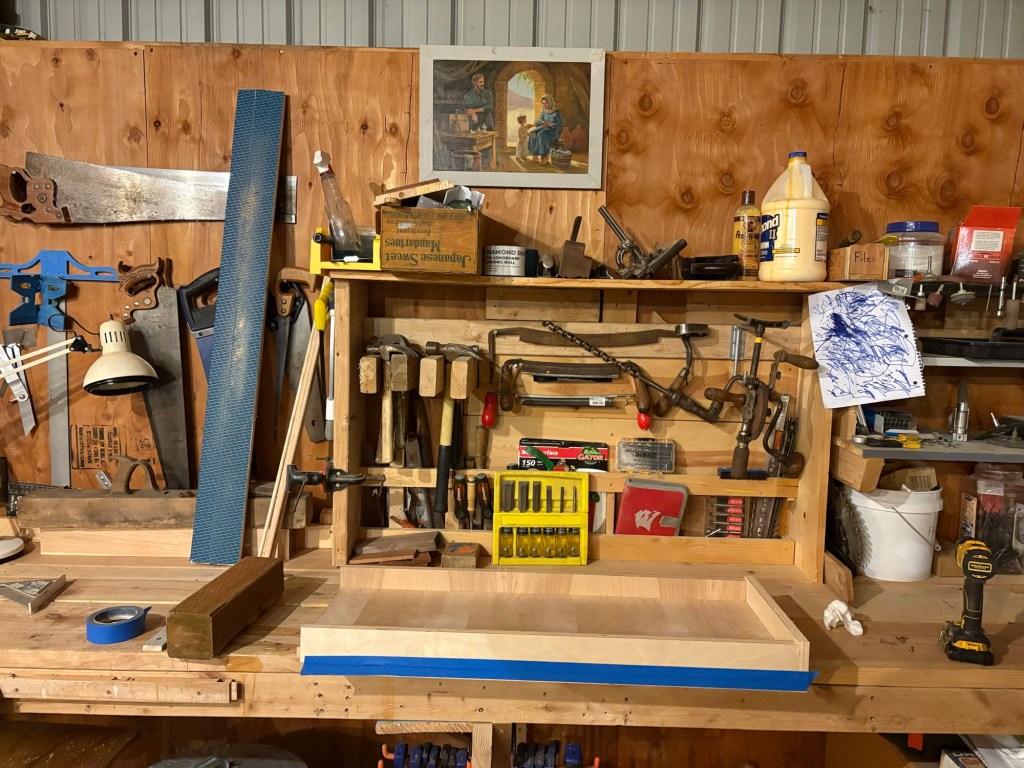
Then polish and sanding with the multi-tool. My first time using the sander attachment.
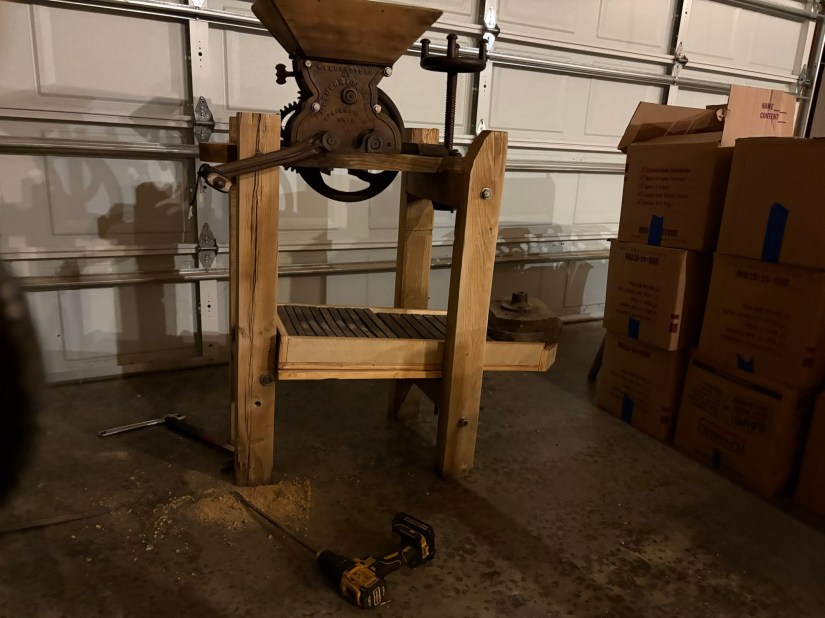
Now to make sure it fits.
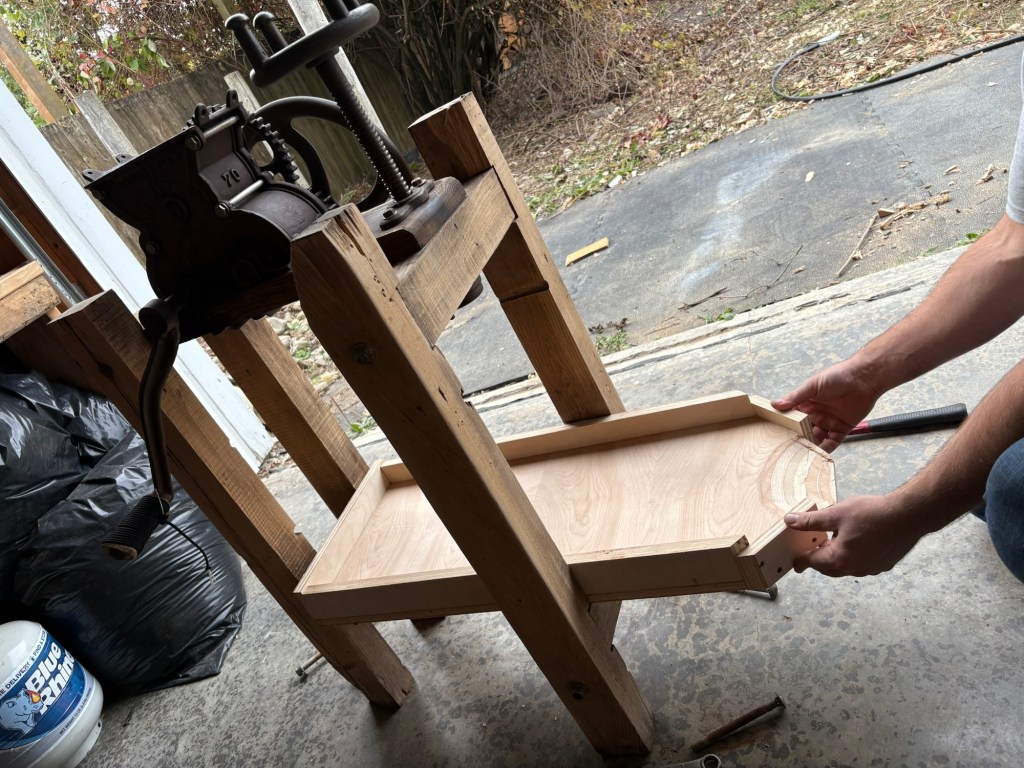
It does, however, it needs a stringer underneath to keep the legs from trying to splay when it is used.
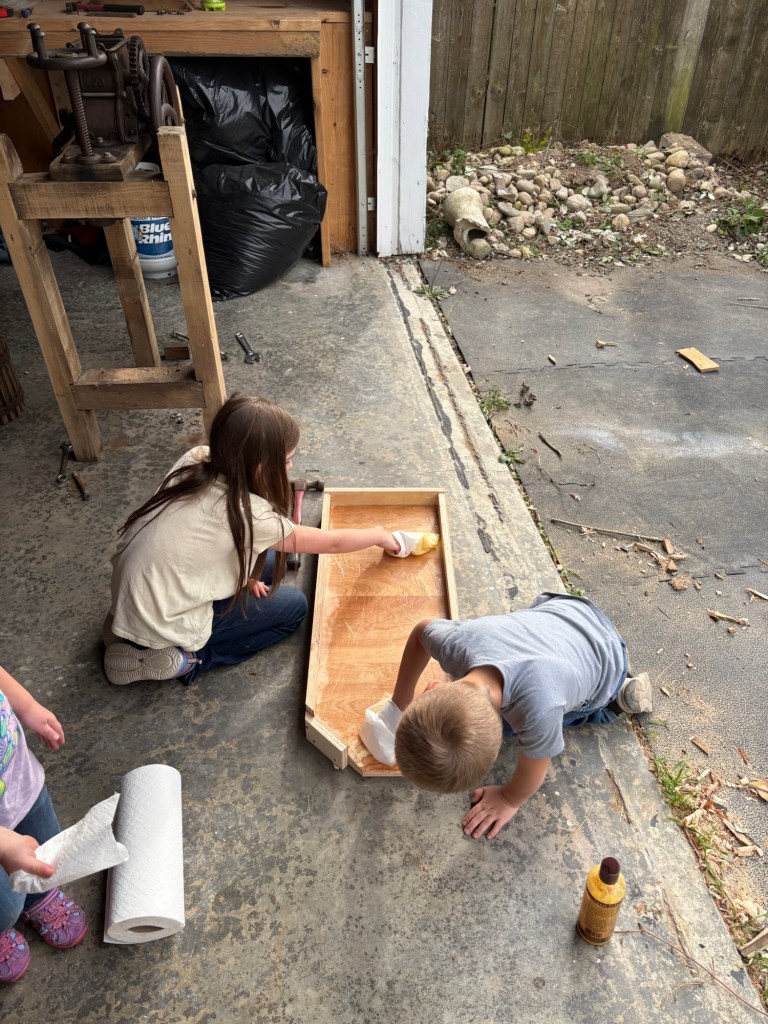
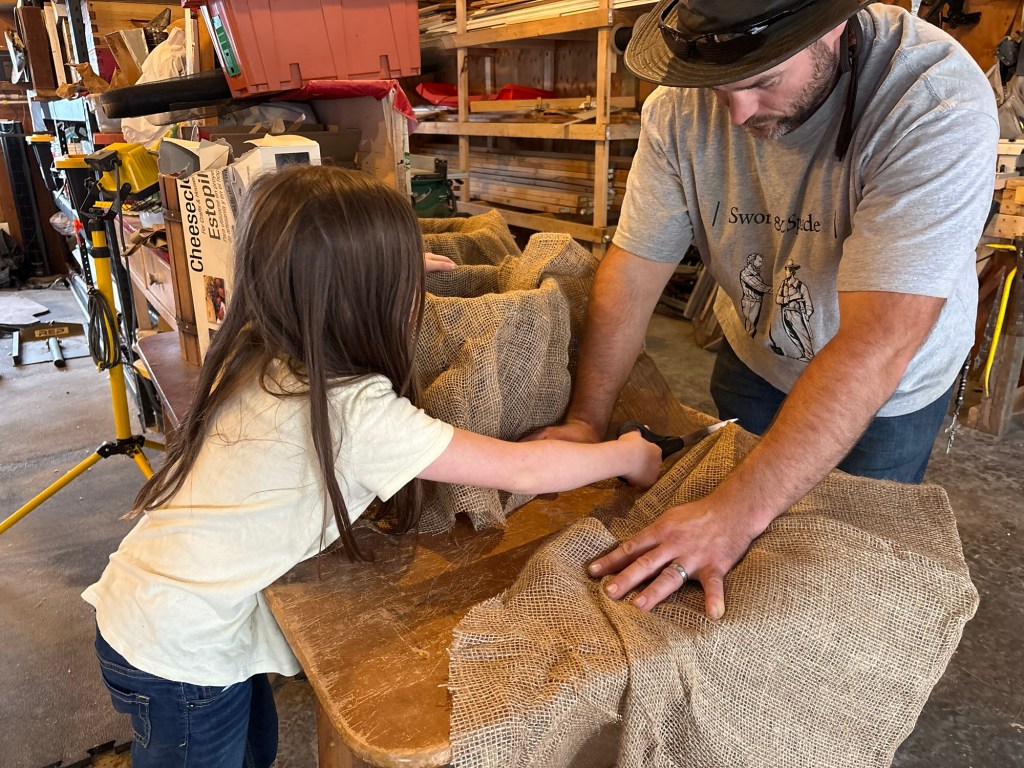
So I set the kids to finishing it, and built a stringer.
They thought that was fun.
And they did a great job.
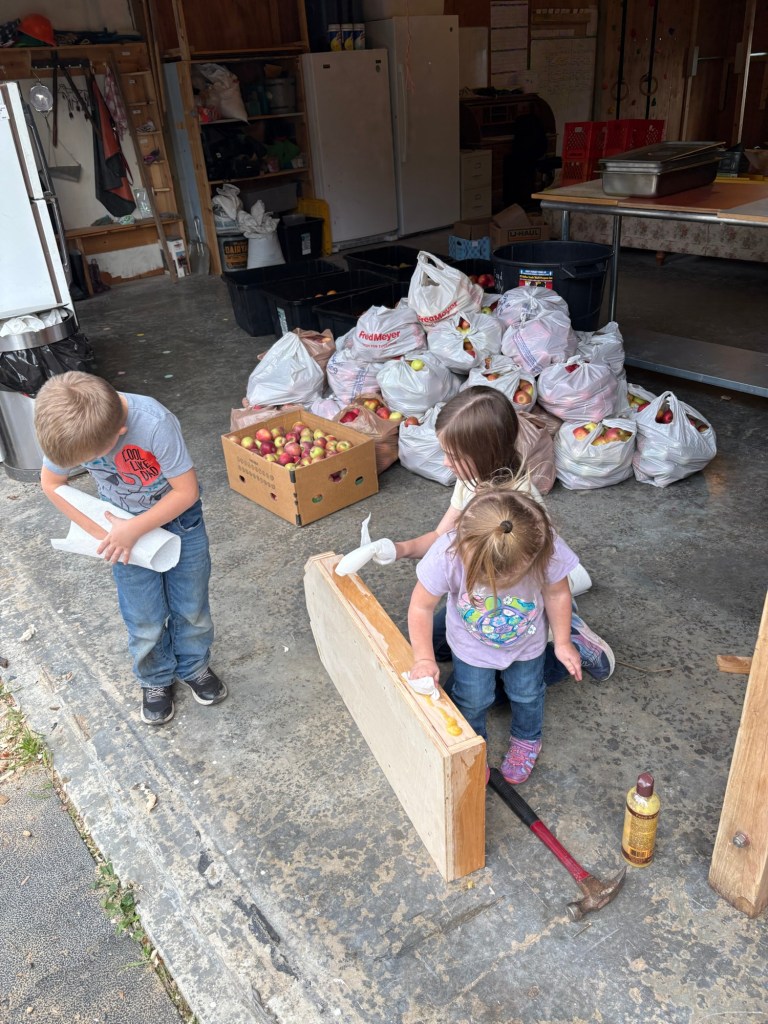
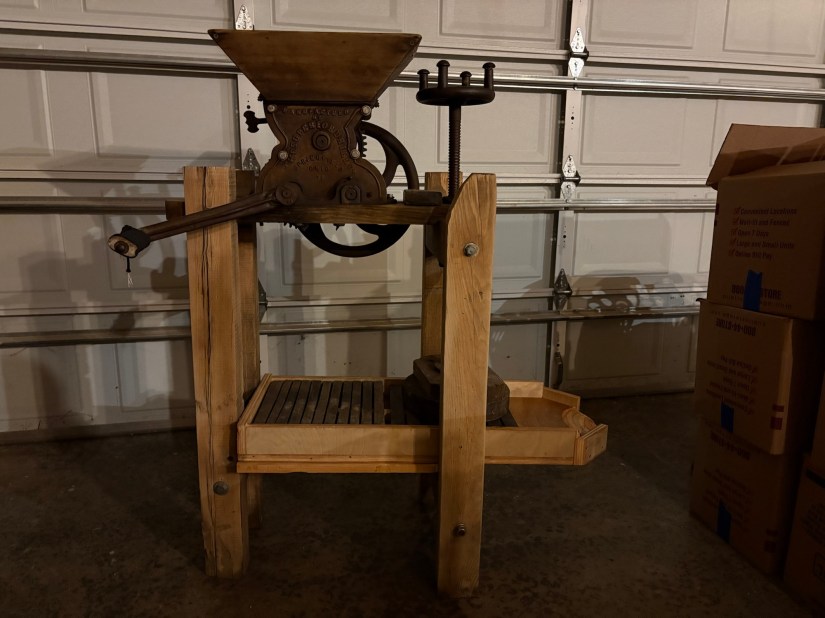
Now the legs can’t splay apart.
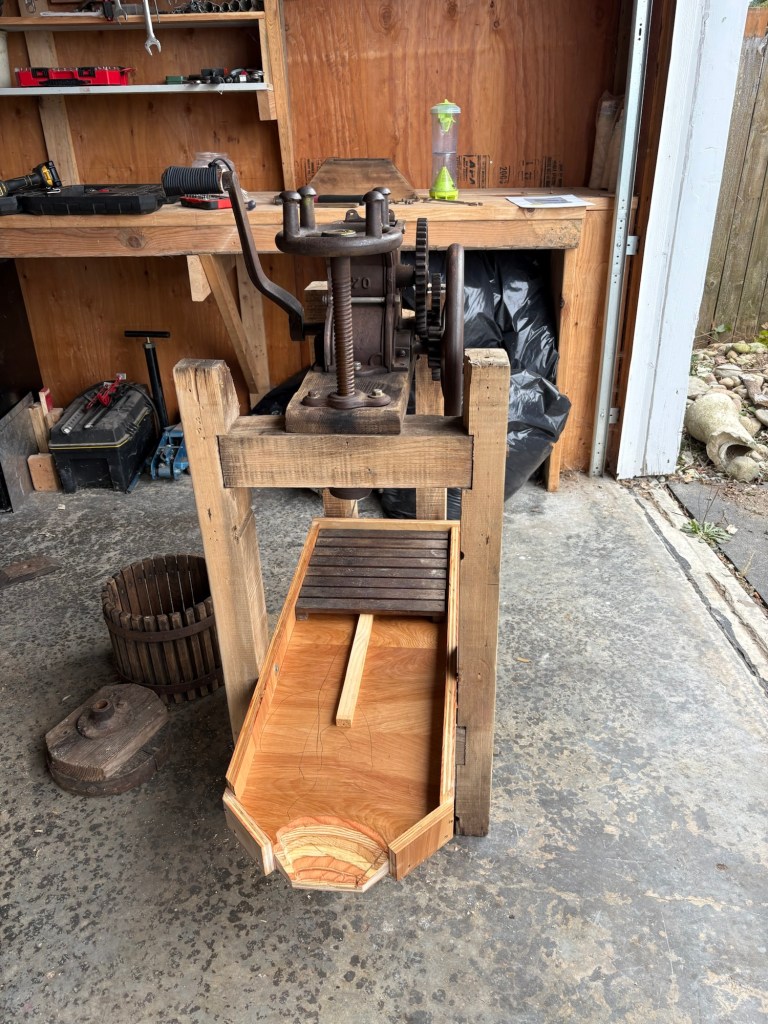
Quickly added a runner in the middle to support the center of the trays where the slats could break under the pressure from the screw-press.
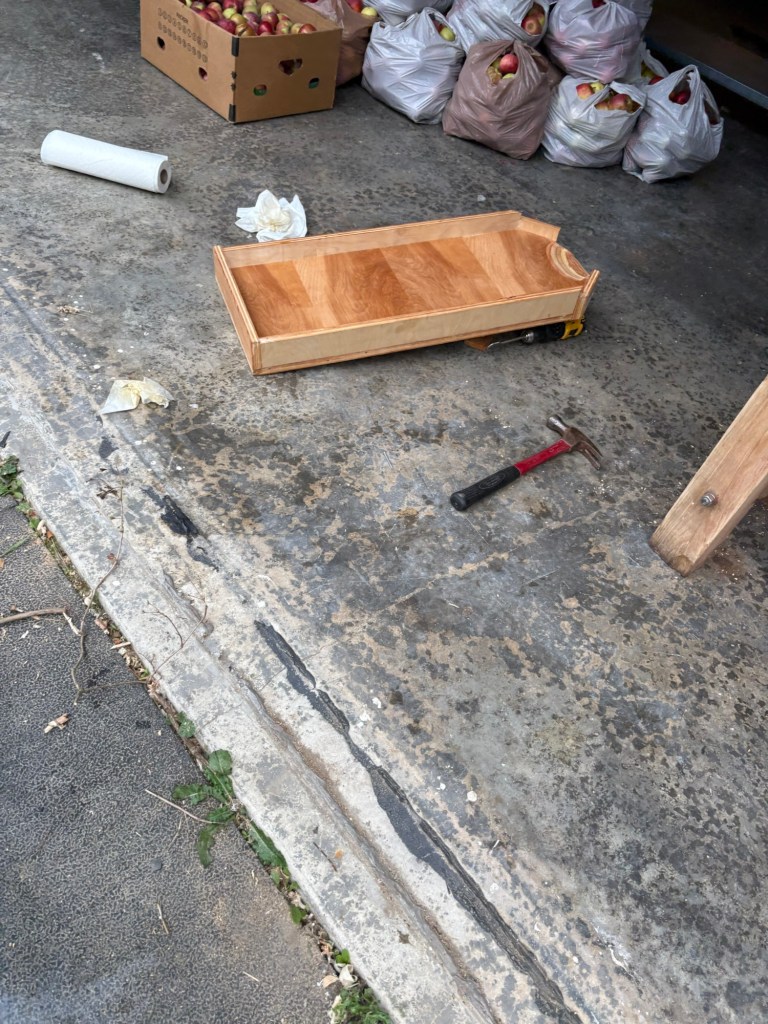
Last task for the day…
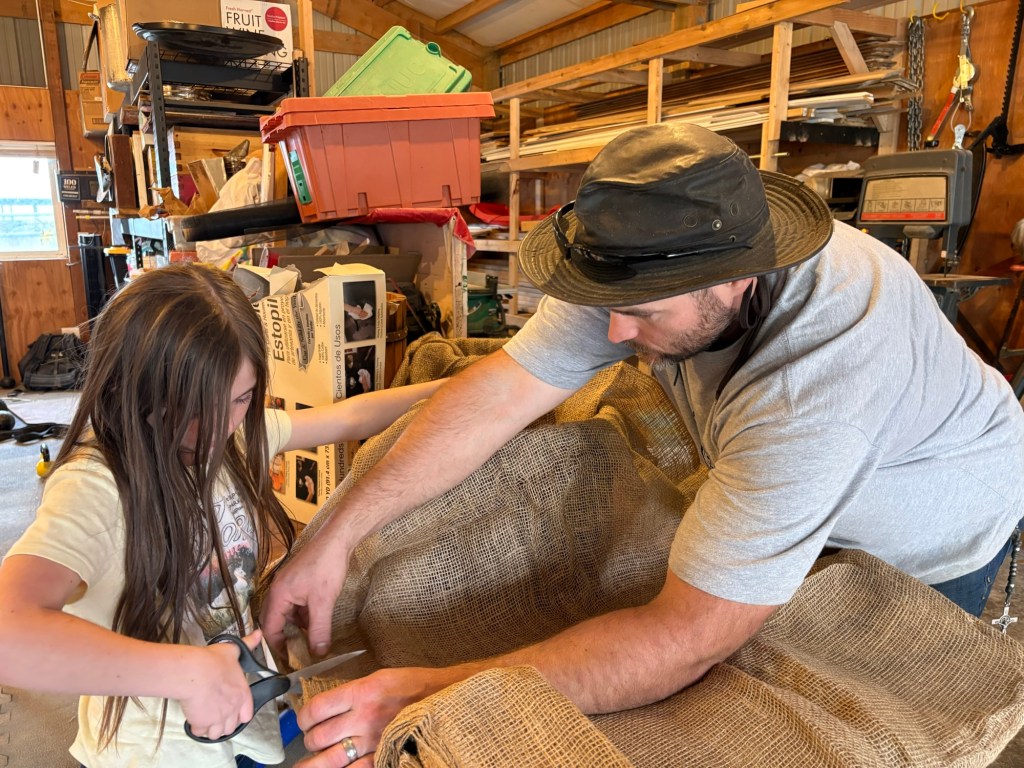
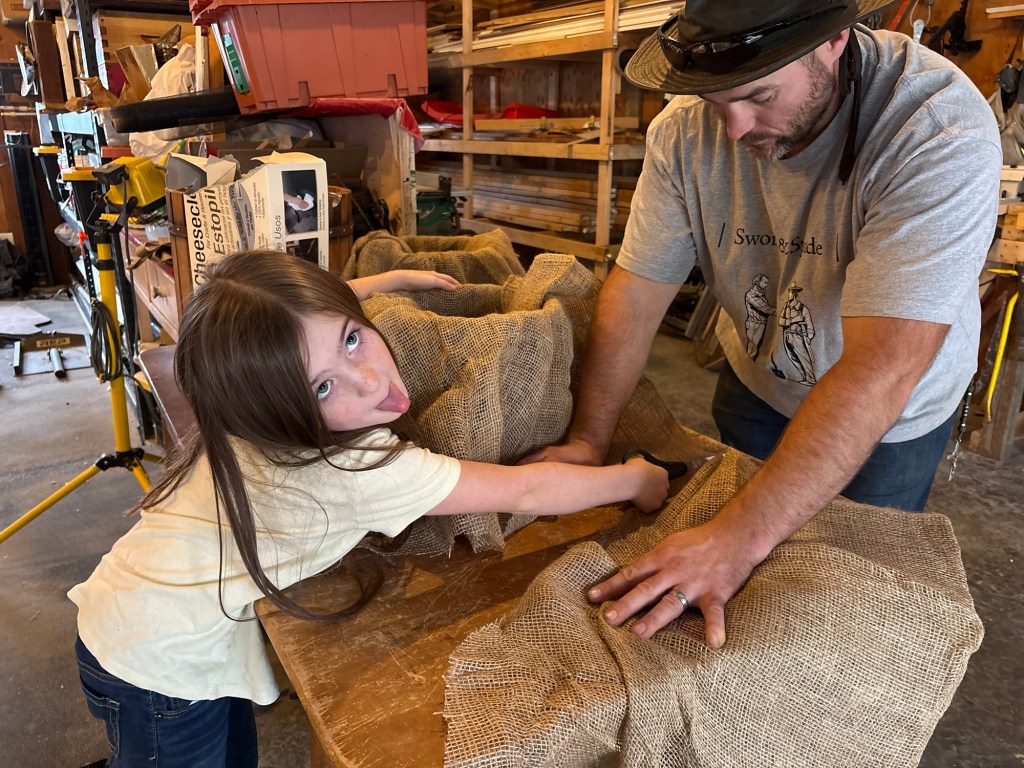
Cut the burlap to fit the barrels.
Alright! Finally, all ready to go!
But wait! Actually…
While getting cleaned up on Saturday morning at 5:30 I suddenly realized that it wouldn’t work. The angle of the tray was too steep and the barrels would rack when the press was screwed down.
This could break the old barrels.
So I rushed to the farm and pulled the bolt out. Reaching into the scrap wood box I pulled out a chunk of 4×4 that I had cut a few days ago. It fit like a glove! No cutting needed. I tapped it in, re-drilled the hole, ran the bolt through and tightened the whole thing done.
Just like that. Almost square to the frame, just a couple of degrees of slant, enough to keep the cider flowing.
Now we are ready to go.
Now I want to take that whole thing apart and completely rebuild the frame with entirely hand joinery. Someday.
