

Last Thursday Seppi and Winnie and Daddy built another fence anchor. Since we were trying to have a family day, we decided to see how fast we could build it.
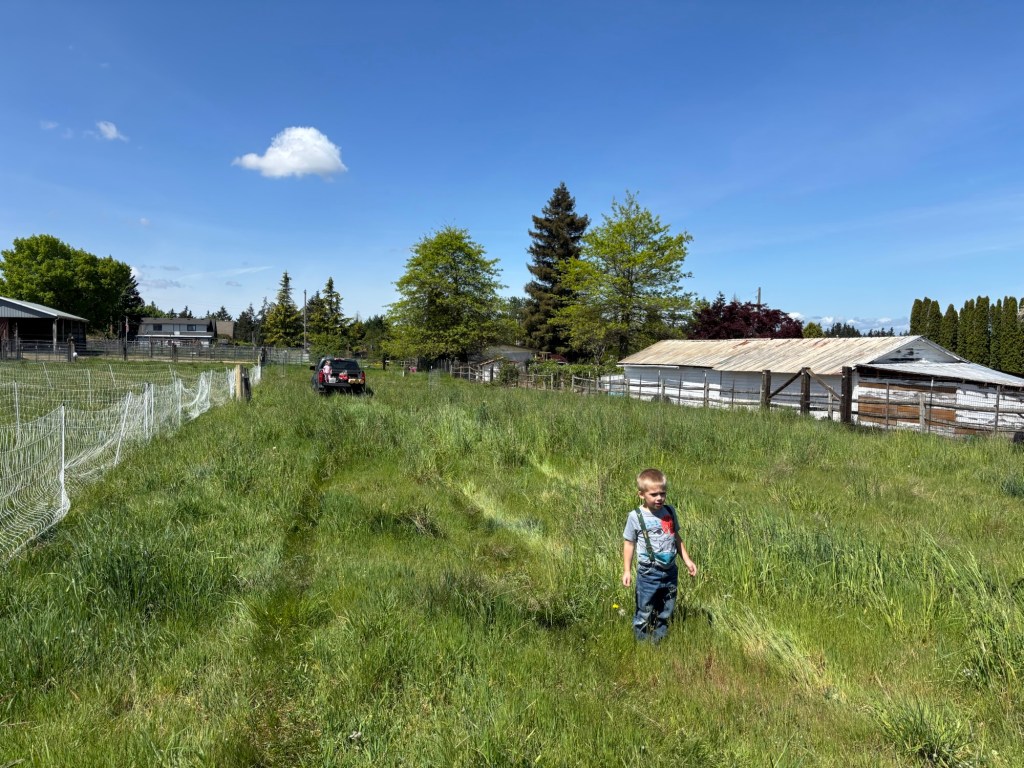
First step, run the straight line.
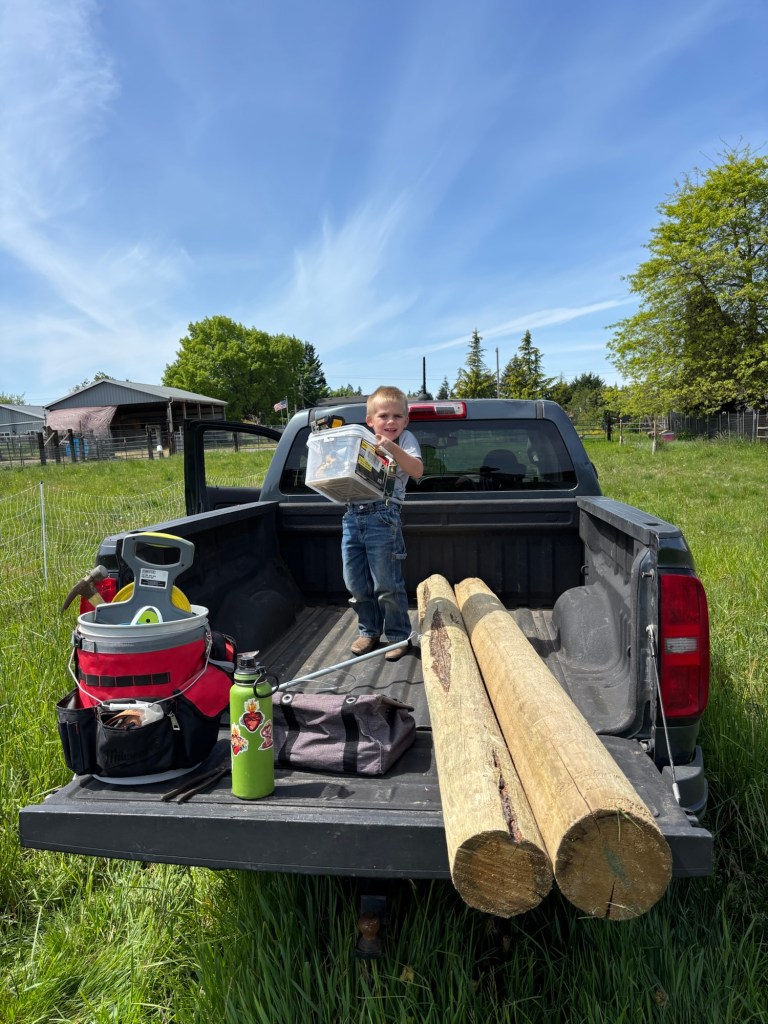
Then download the tools.

Third, measure exactly 12 feet for the gate.

Fourth, mark the sod under the straight line.

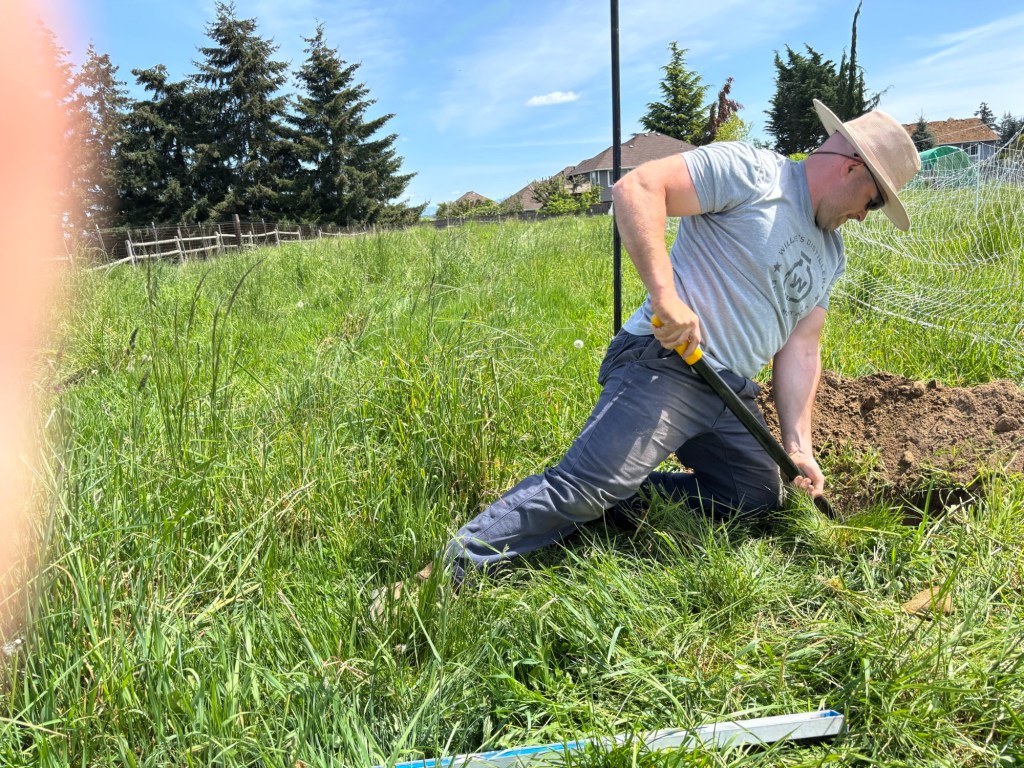
Fifth. Dig.
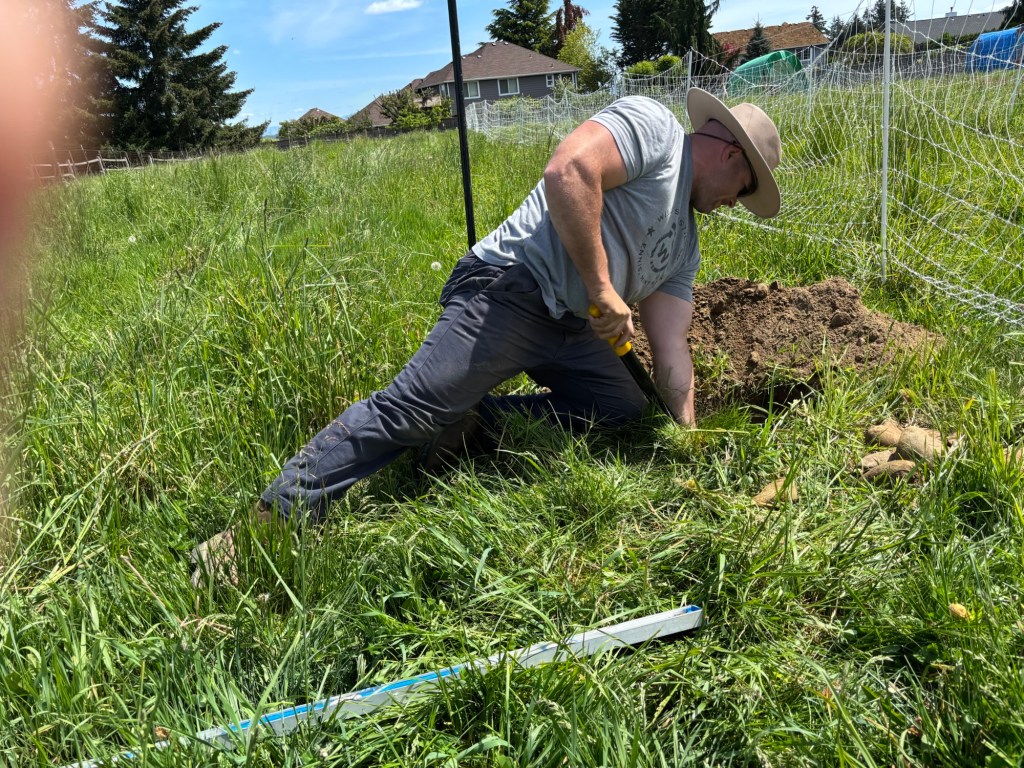
And dig.
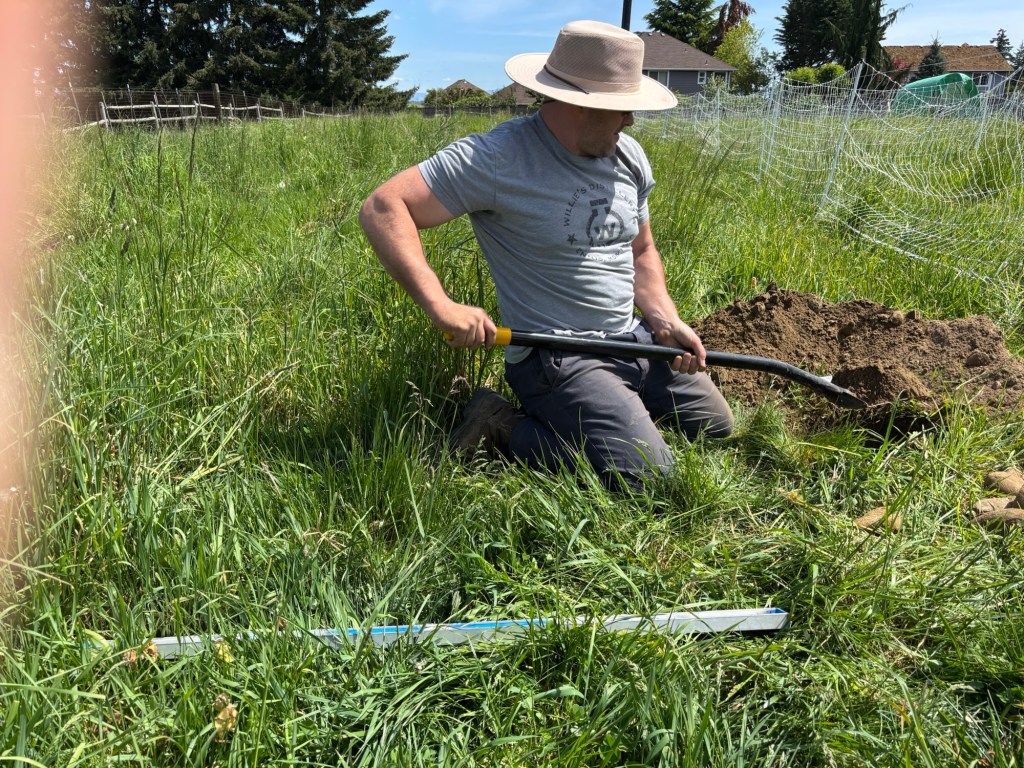
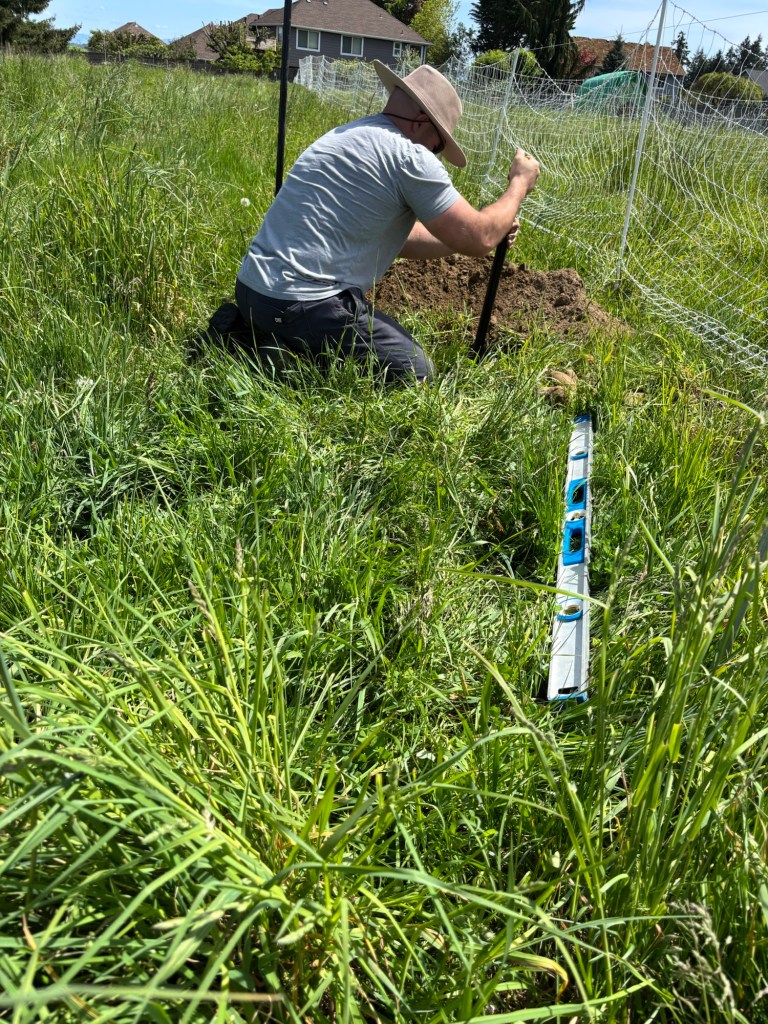
Periodically we have to stop and measure our depth.

Nope, not quite there yet. Keep digging.
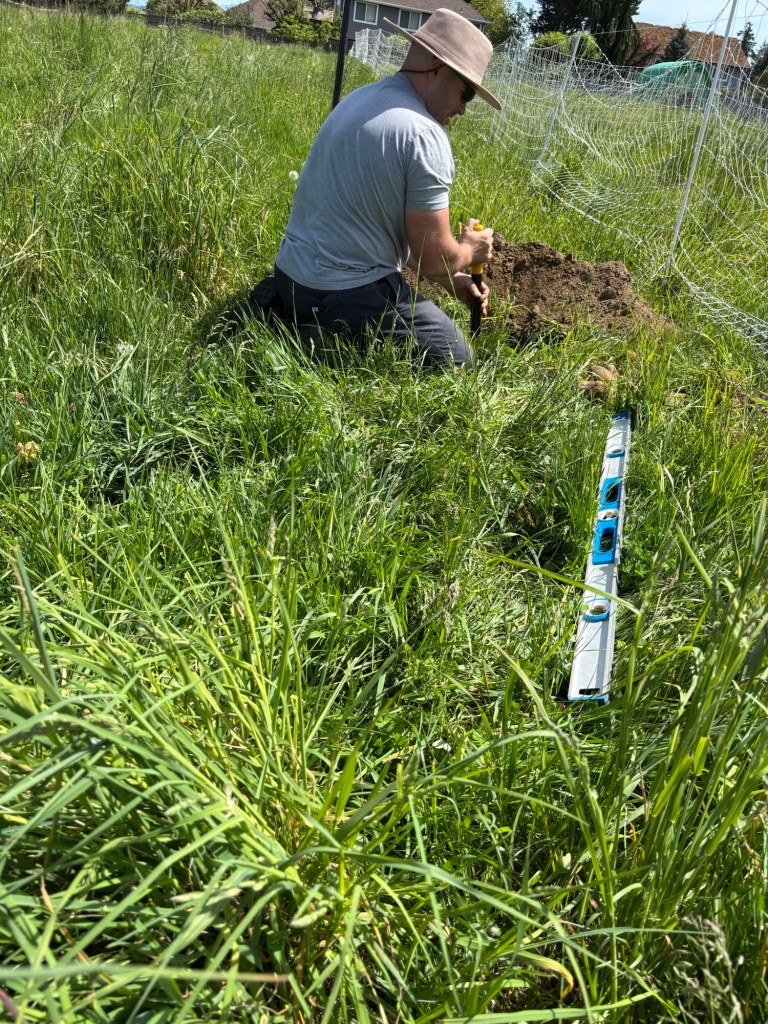
And dig some more.
Getting pretty deep. Let’s check again.

Almost. A few more minutes…
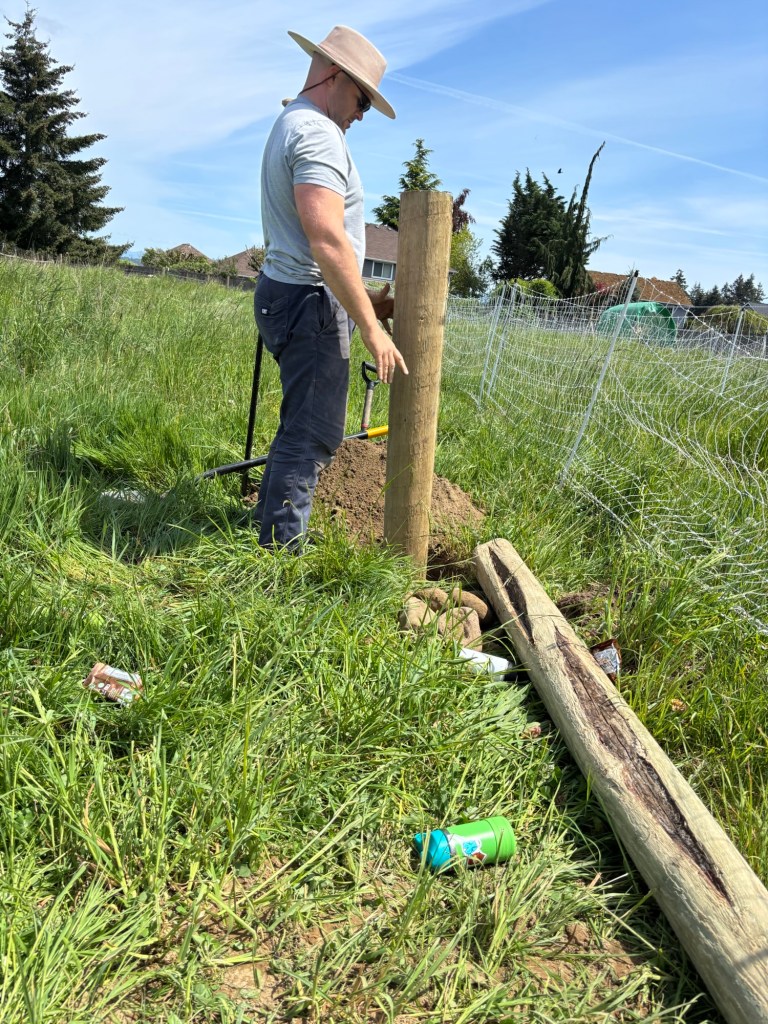
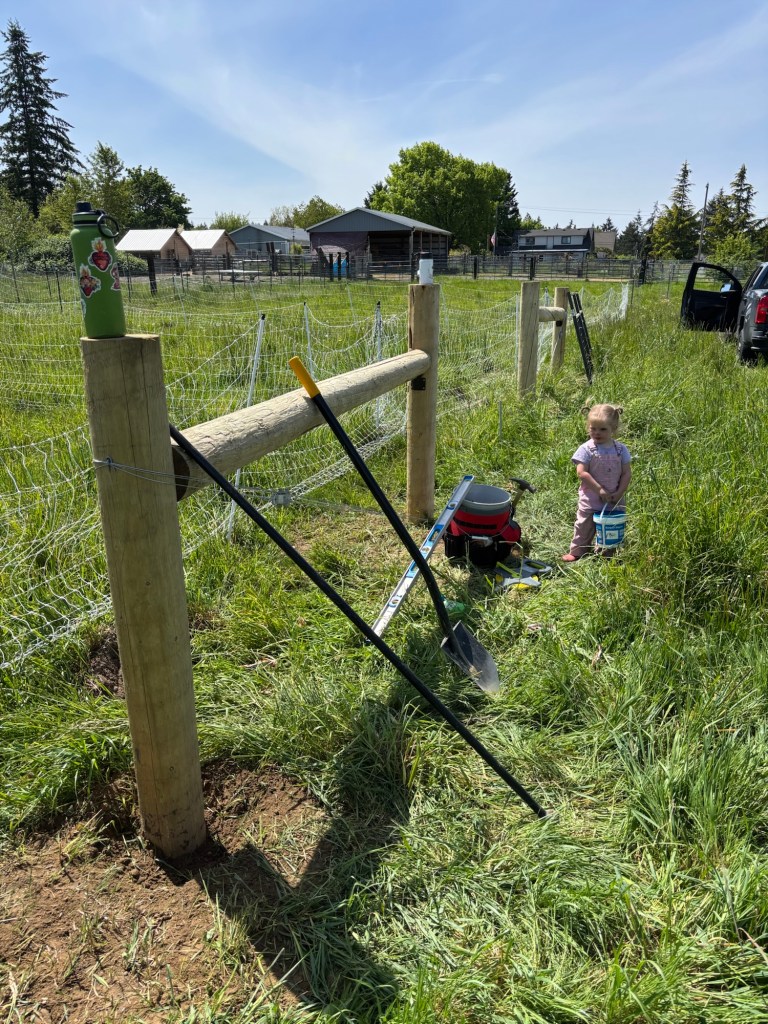
When the yellow on the shovel handle starts touching the edge, we know we’re close.
That should about do it.
Check the depth again…

Perfect!
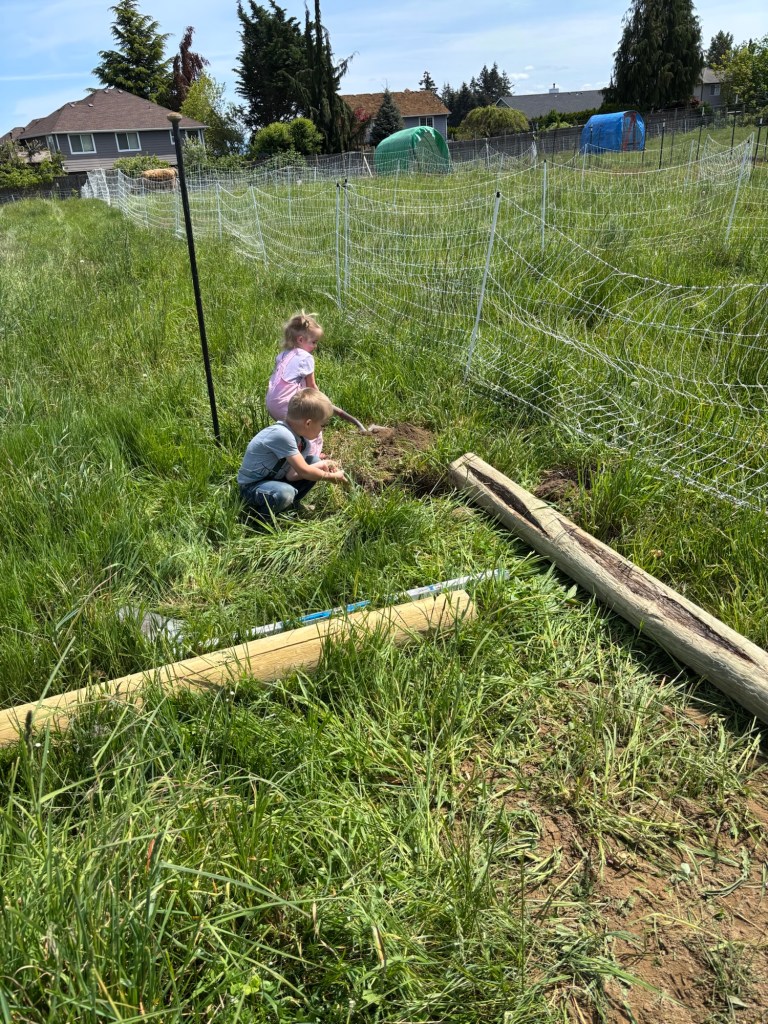
For digging these holes we found the best way is to cut the sod out, and set that to the side, then trample or pull out a small circle of grass on the edge of the hole. Loose spoil goes there, and the large rocks get pulled out of that and set in a separate pile to be used later for tamping.
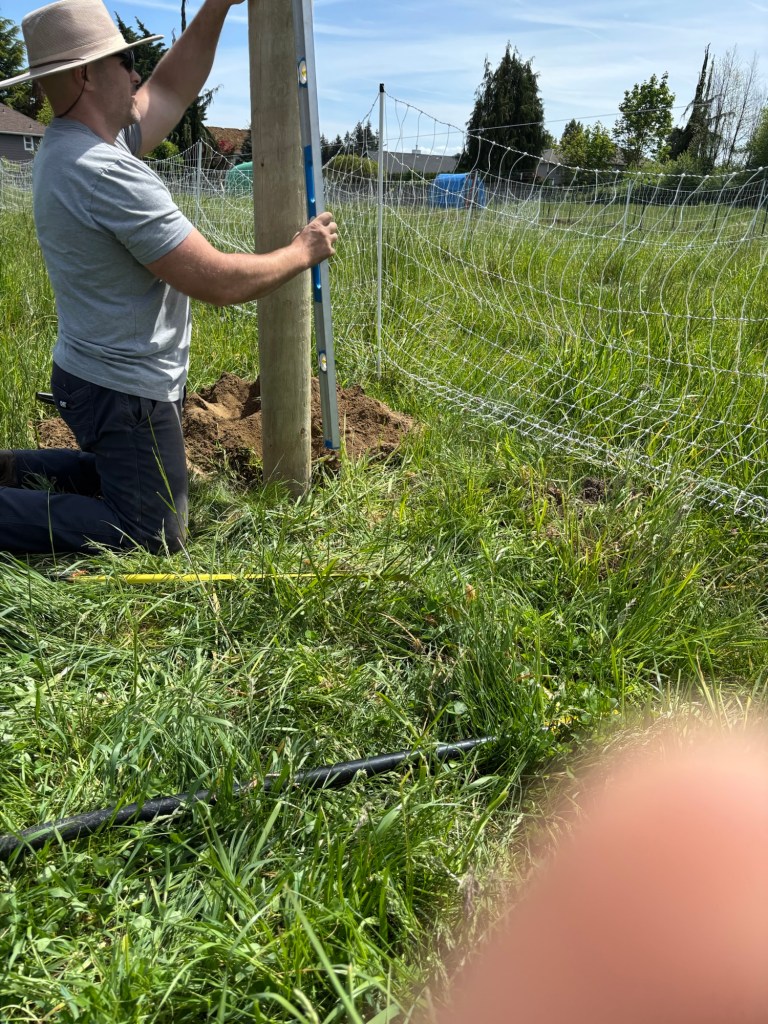
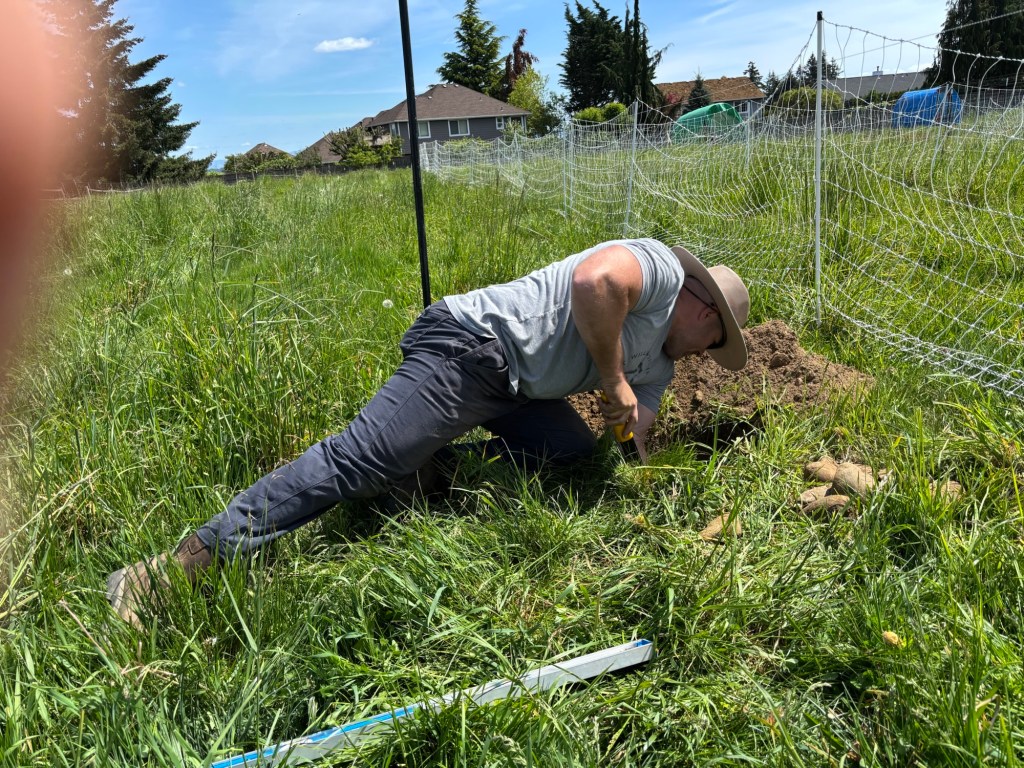
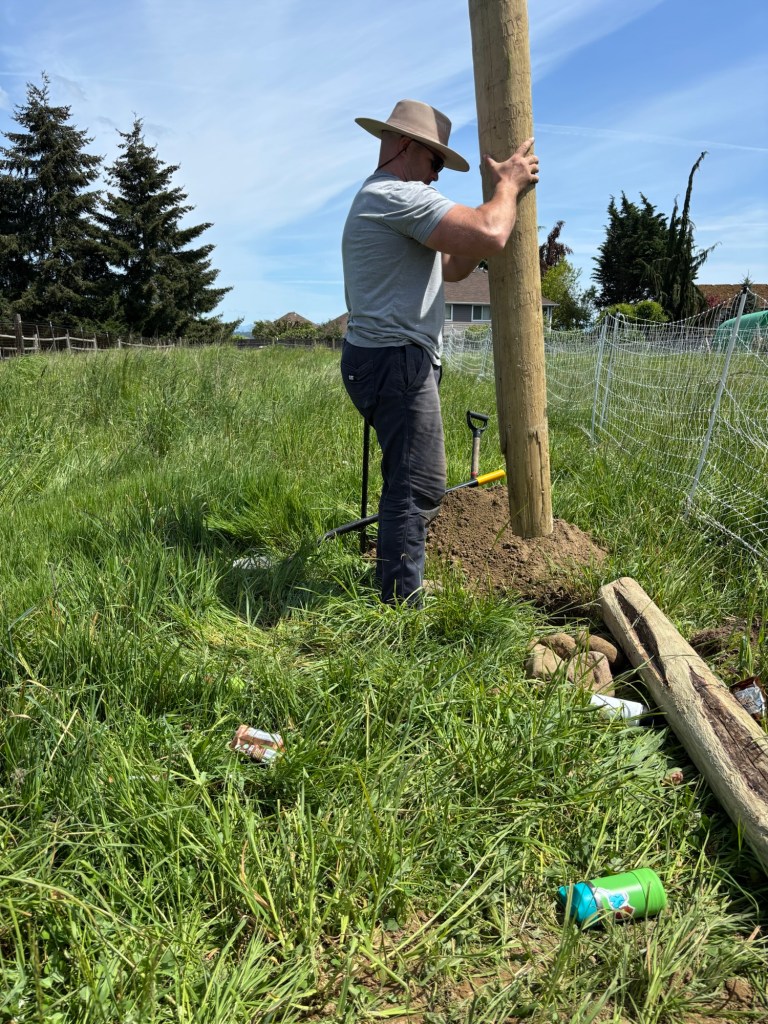
Plumb….
Is not a fruit.

We set these posts by getting them square to the distance measure (twelve feet off the previous anchor gets us the East/West measure) and the straight line (gives us the North/South measure). Then we use the shovel to lever the base of the post back and forth in the bottom of the hole until it can butt up against both the measuring tape and the tight line while still being within a couple of degrees of plumb.

We then dump a small amount of the fine spoil in the bottom, about 6-8 inches, and tamp it down.
As firmly as possible.
This is followed by a ring of large rocks pulled from the spoil pile.
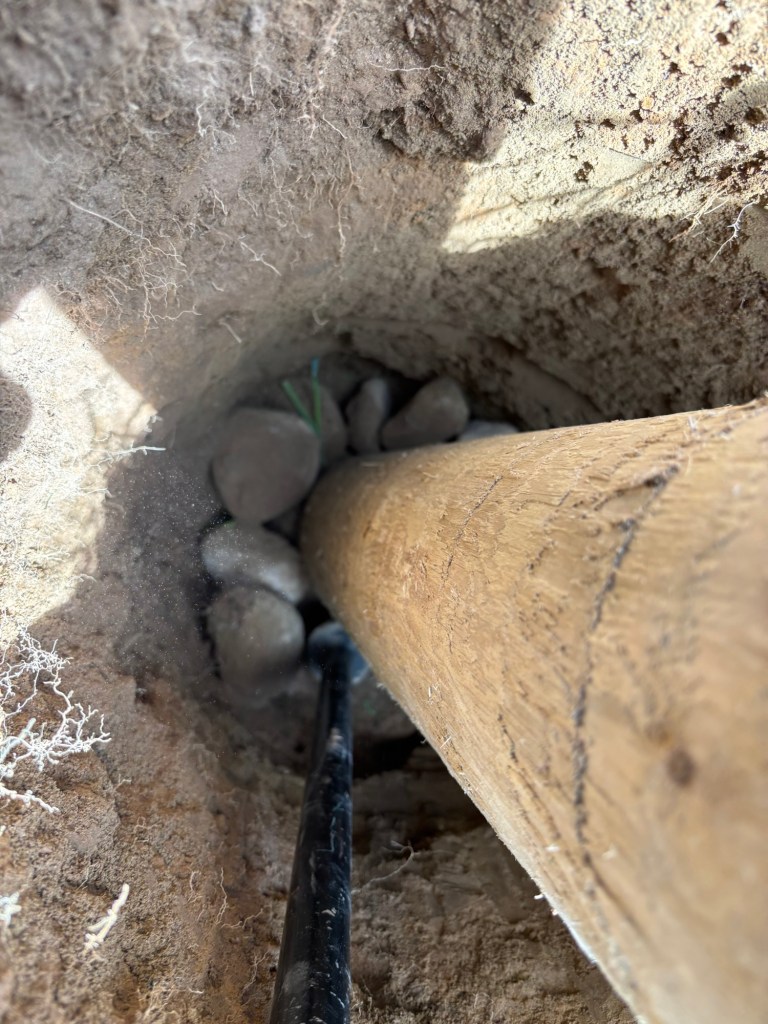
These are tamped firmly into that ring of soft spoil, while this is going on we have to plumb the pole every few pounds with the tamper to make sure the base alignment hasn’t been…
tampered with!
Once the ring of rocks is firmly set, then we pour more loose spoil on top of it, and tamp that down. We continue this pour, tamp, pour, tamp, ever 6-8 inches or so, until the hole is filled all the way. From breaking sod to final tamp was one hour but that included several drink and snack breaks (we started at noon) and at least one walking-back-to-the-shop-to-grab-that-tool-I-forgot break.

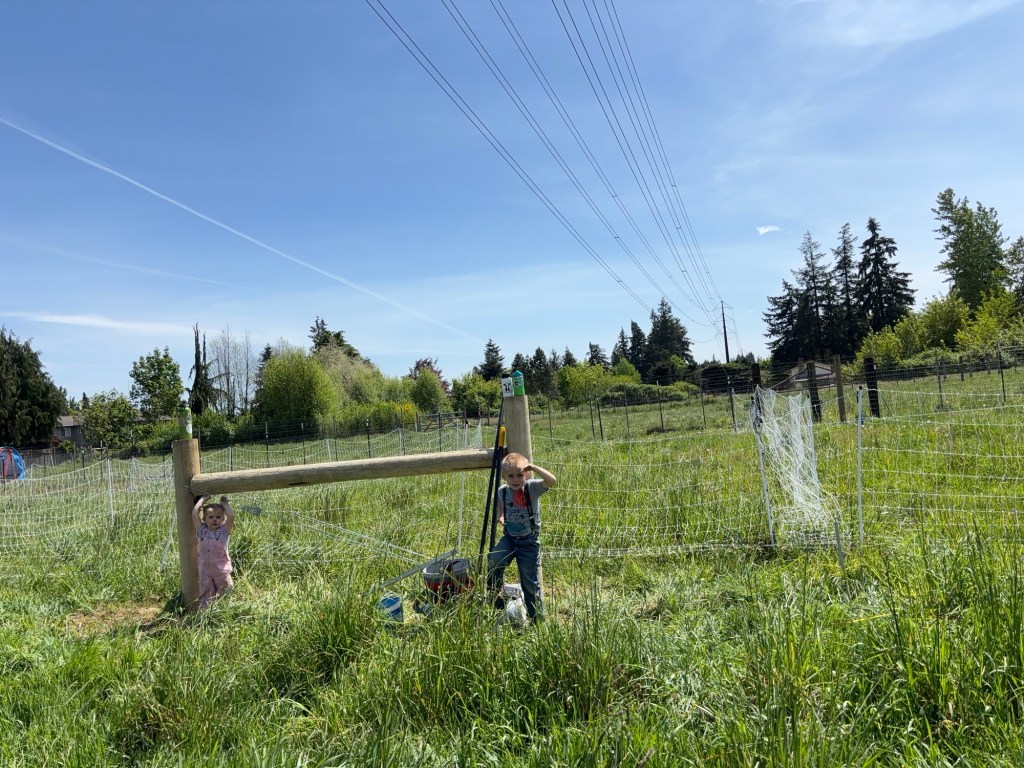
Next we set the other end of the anchor. We use the cross brace to get our East/West measure now.

Broke sod a little after 1PM.
This hole was even faster, about 25 minutes.
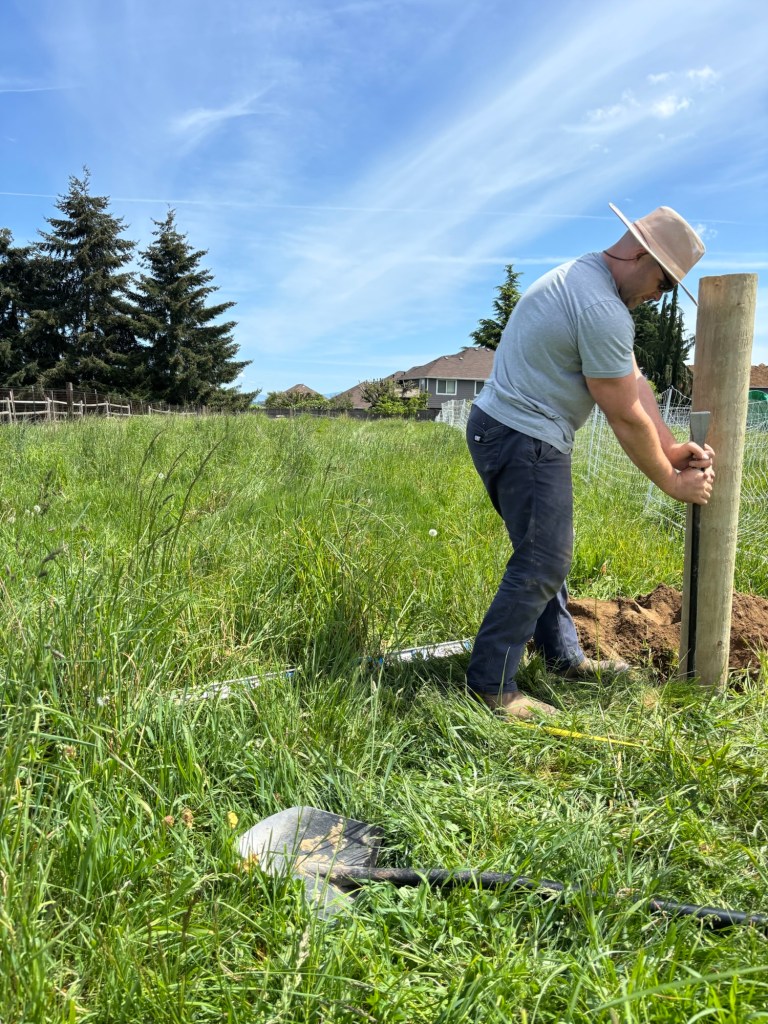
Drop the pole in the hole.
Remember, all of them are sunk a minimum of 42 inches, which leaves just a little over 48 inches above ground (they are nominally 8 foot poles, but they are actually cut to 8’2″ or thereabouts.
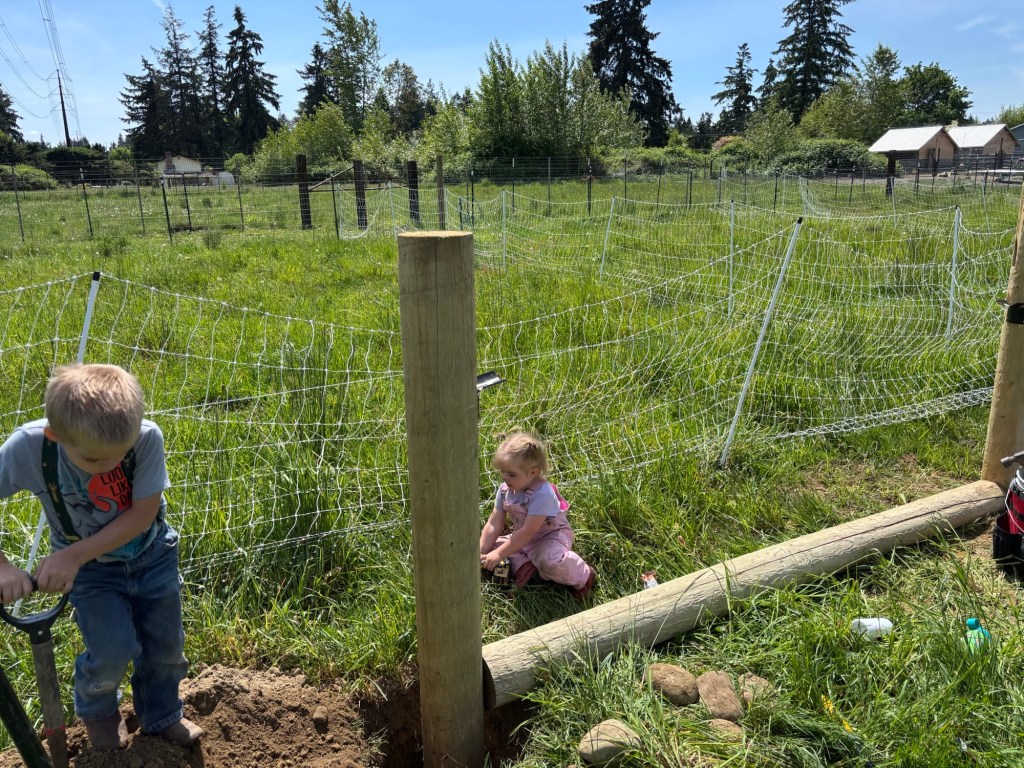
Butt and plumb, shift the base.
Then fill and tamp as before.
In a hurry now, because my help was getting hot and tired, and snack breaks were just not keeping up the morale anymore, so I didn’t take any pictures of the cross-brace/twitch wire process. Of note, the in-line fence strainers from TSC are cheaper than those at Wilco, but lower quality. Crucially, they have a round instead of square turn pin, so getting them tight takes a good deal more muscle. You have to grip the heck out of it with fencing pliers instead of just throwing a crescent wrench on it. The metal on the attachment point is thin with a sharp edge that broke one of the wires. TSC also didn’t have 12 gauge wire in stock, so I ran a triple wrap of 14 gauge.
6 minutes after 2 PM, finished.
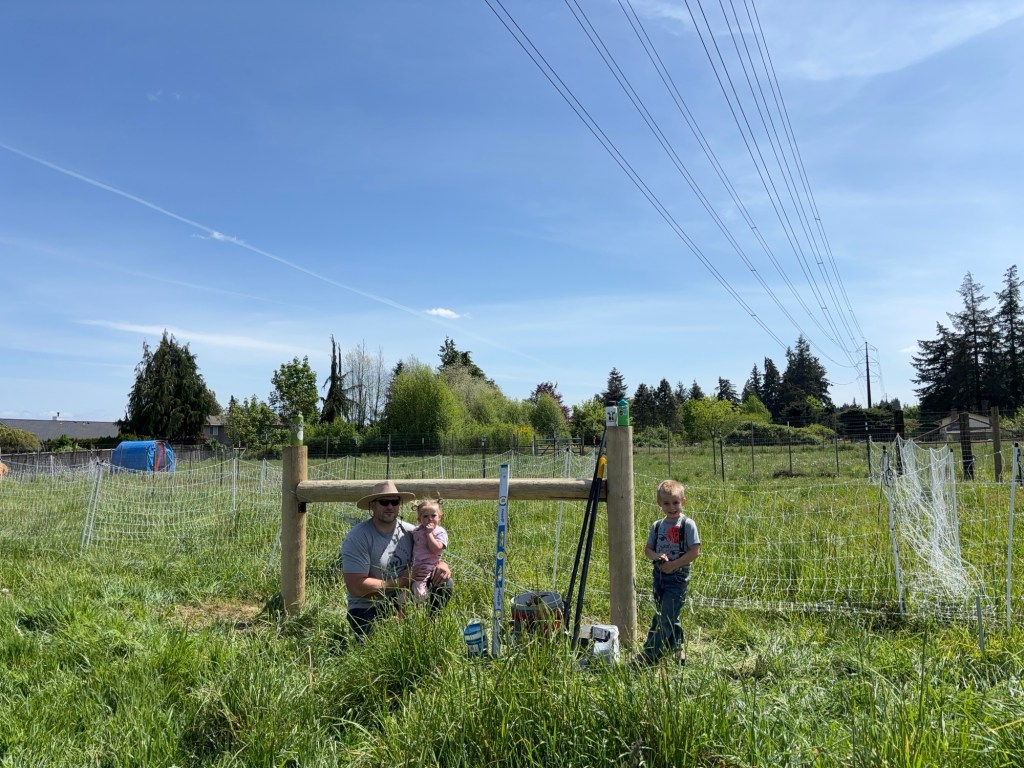
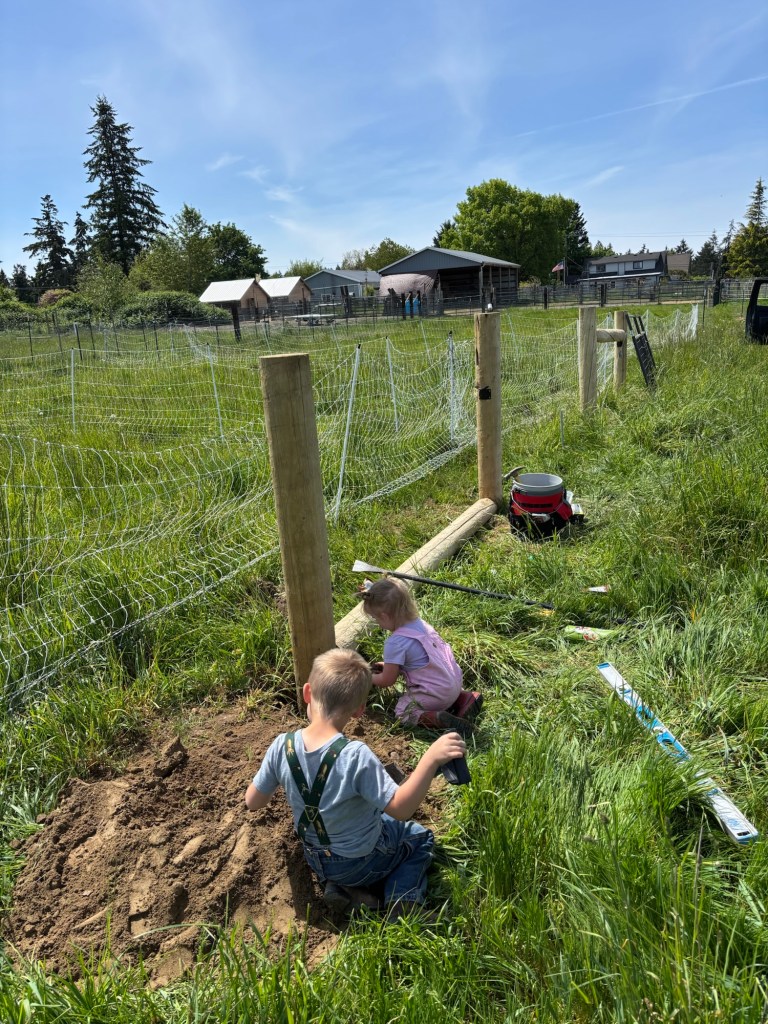
Group picture!
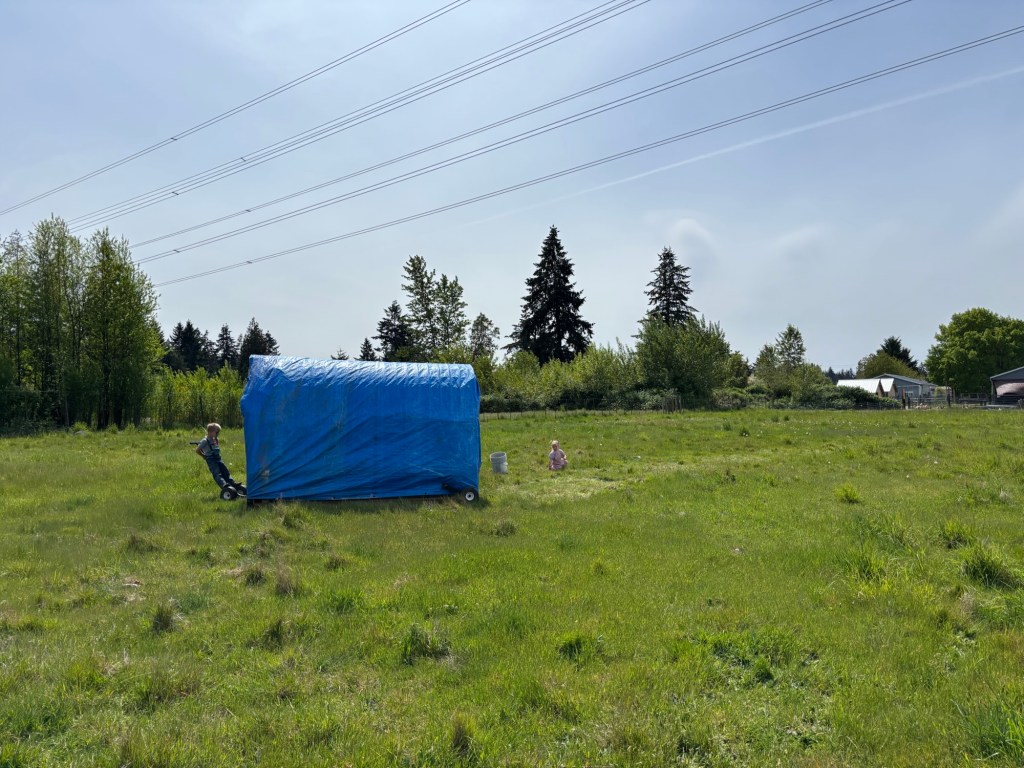
Now let’s go do chores.

Bye-bye, baby duckies! See you later!
