

This is a project that has been in the works for the last 6 weeks, having been interrupted by nearly everything else for most of that time.

As with so many other projects, it starts with a frame built from 2×4’s. I know 2×2’s are lighter, and more than adequate for housing ducks, but still, there is something reassuring about 2×4’s. Also, they are available in more length options. Our local hardware store only sells pressure treated 2×2’s in 4′ lengths.

Initially we began working on it because it was a project I could build in the shop while the kids were doing school, so I could keep an eye on them.
Of course it morphed into school. As often happens.

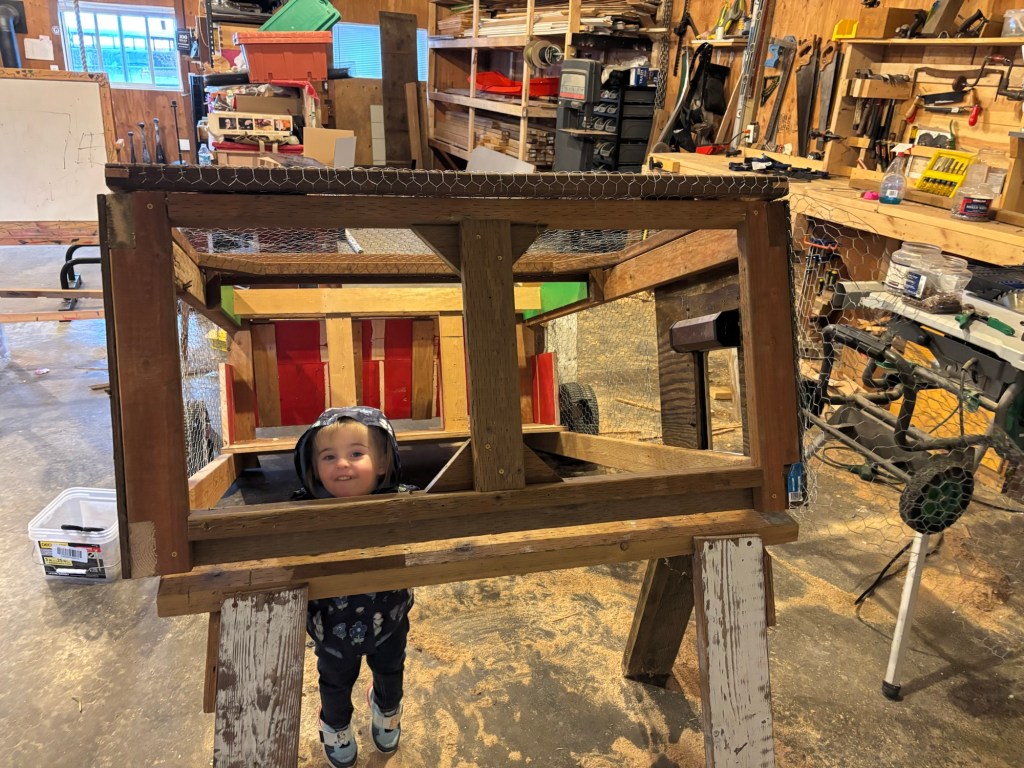
Cool thing about this project? It gave Seppi and I an opportunity to bust out the antique Stanley #45!
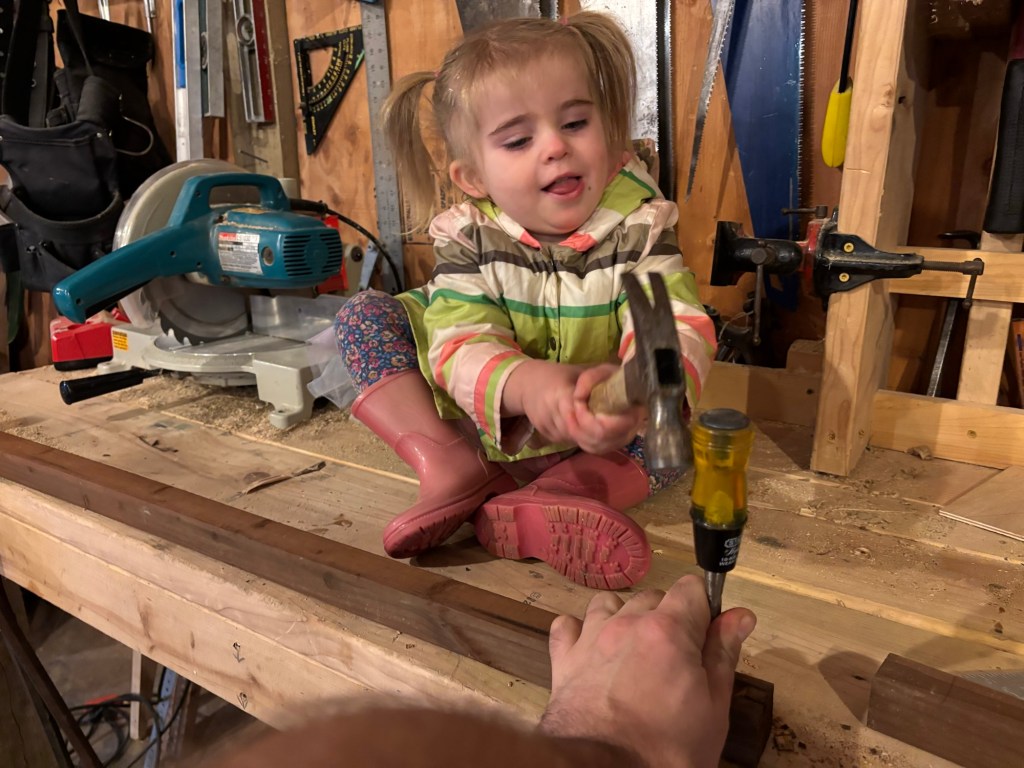
Also, Evie, what is that face?
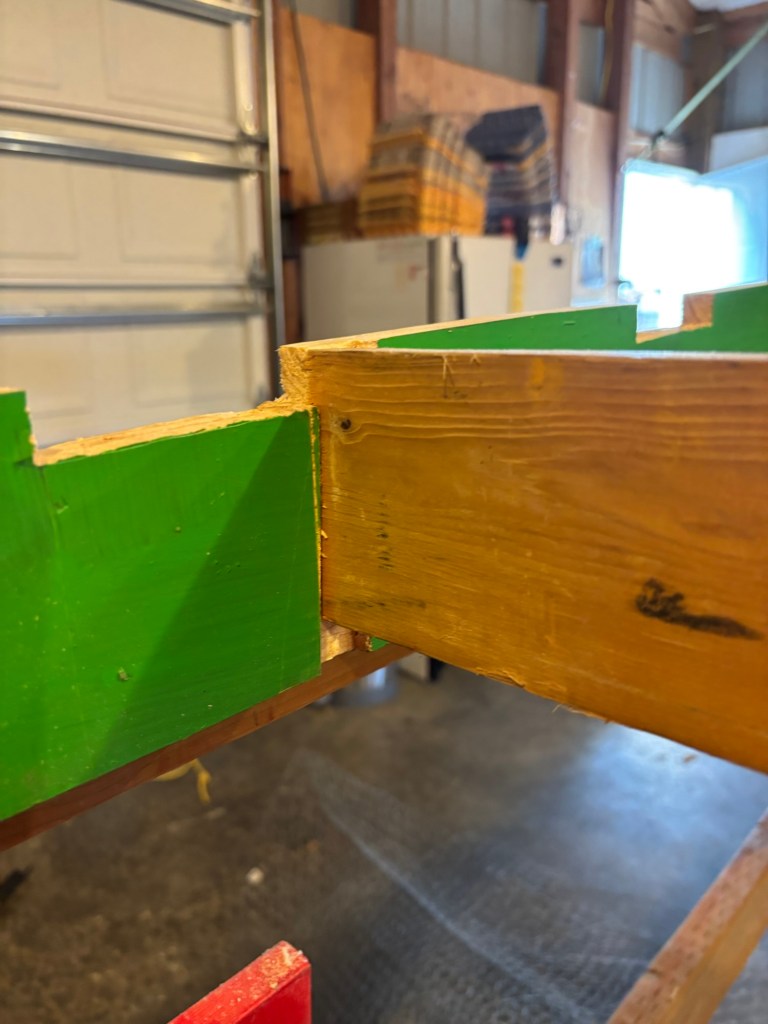
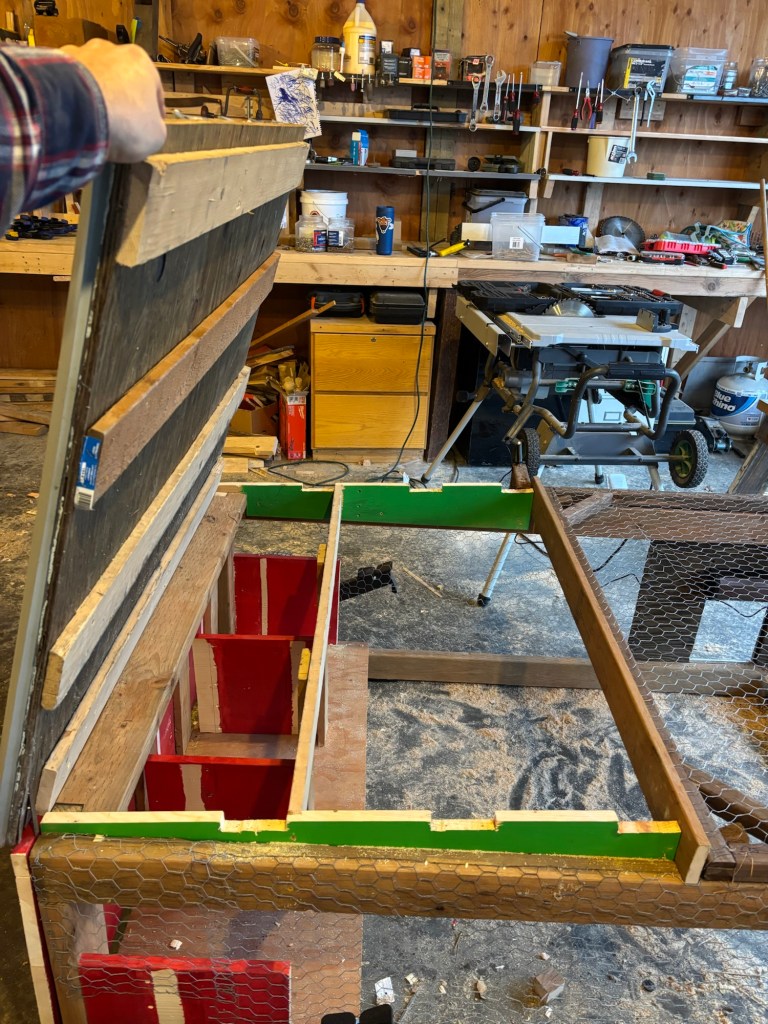
The Stanley #45 is a specialty plane that cuts grooves, rabbets, dados and even tongues with different interchangeable steels. For instance, if made quick work of these dados (above)…

And this groove for the door mounting bracket (above). Of course, a table router, or even a plunge router with the appropriate jigs could have done it faster and better. However, I don’t have $300 to drop on a router right now, and this is cooler.

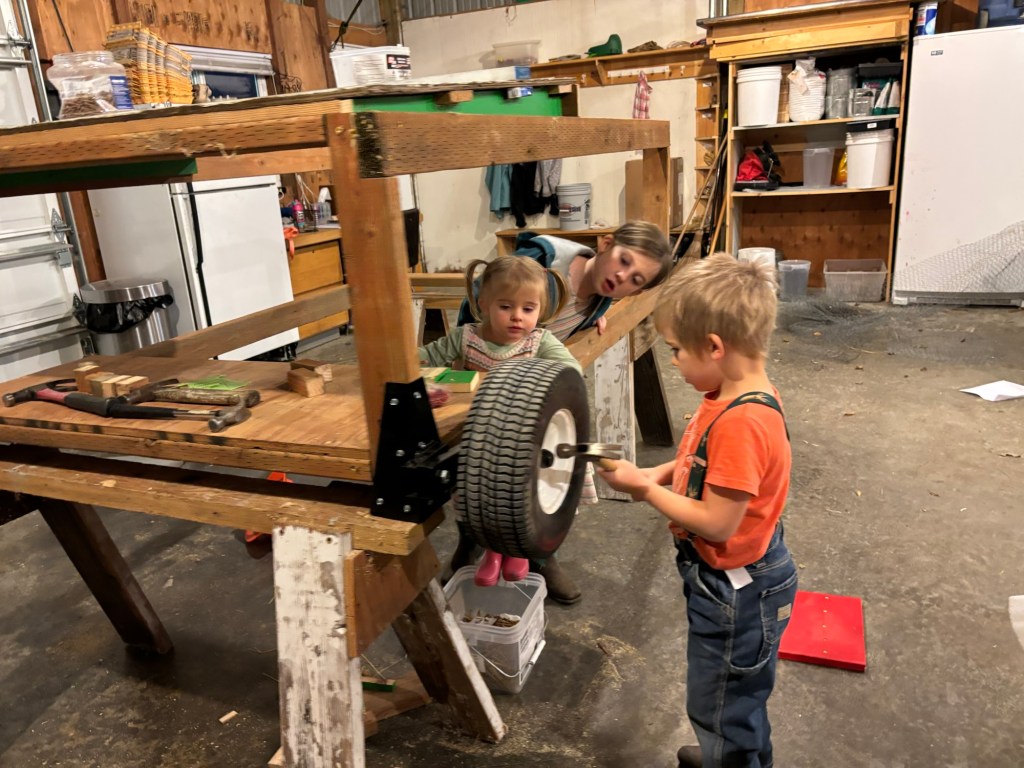
And the brackets hold the solar powered (allegedly) automatic door in place just fine.

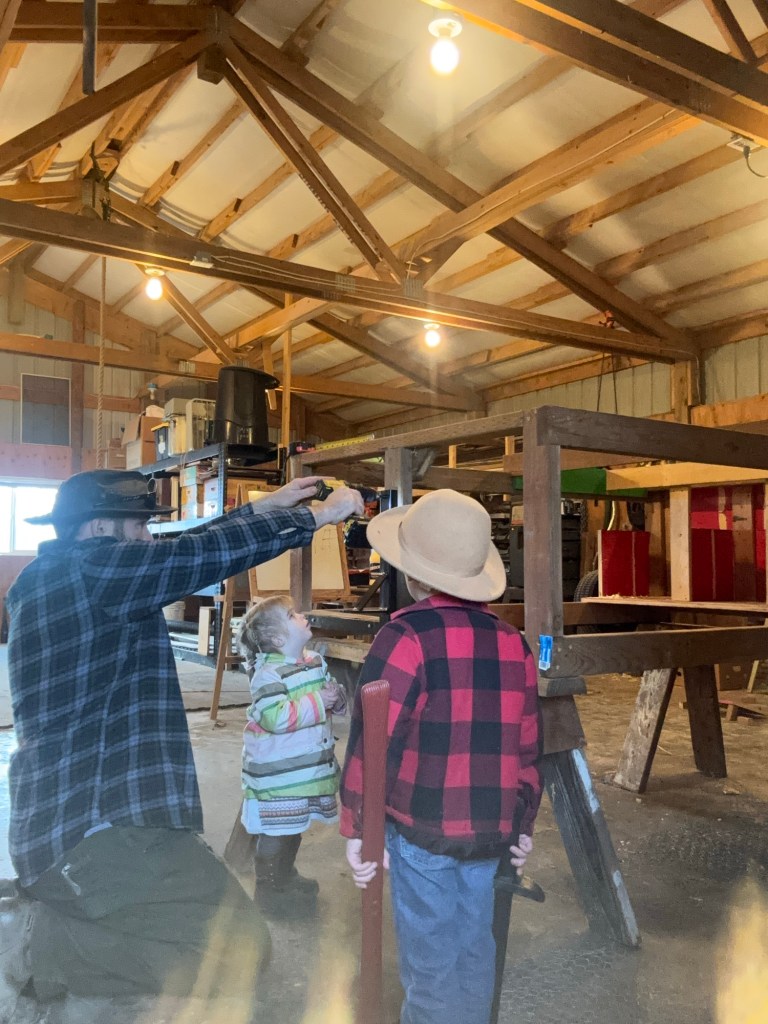
Matching man-flannels!

After the roof frame was constructed, then we scribed and placed the boards for the nesting boxes, and then the back door. This is how we will harvest eggs (God willing!)

Attaching the front lift gear from https://eggcartn.com/?. Of course we have used the kits before for the shademobiles, but this year we special ordered (by phone, not on their website) the rough ground wheel sets, which have heavier, wider wheels, better suited for our… well… rough ground.
Next, the top of the mobile. I wanted it to be open to air, and openable so we can feed the ducks (they grow better when you feed them). Hinges are a pain, so we came up with a different option.
We cut mortice and tenon joints in the ends of pressure treated 2×2’s (this is how I know our local hardware store sells them in 4′ lengths).

Isn’t it pretty!

This allowed us to make a rectangular frame, (without nails or screws) and staple the chicken wire to it. This forms the lid of the duck mobile. It is very light, and can easily be lifted by a child, but sits firmly in the slots and has little to no wind resistance, so should not (should not) blow away in a wind storm.
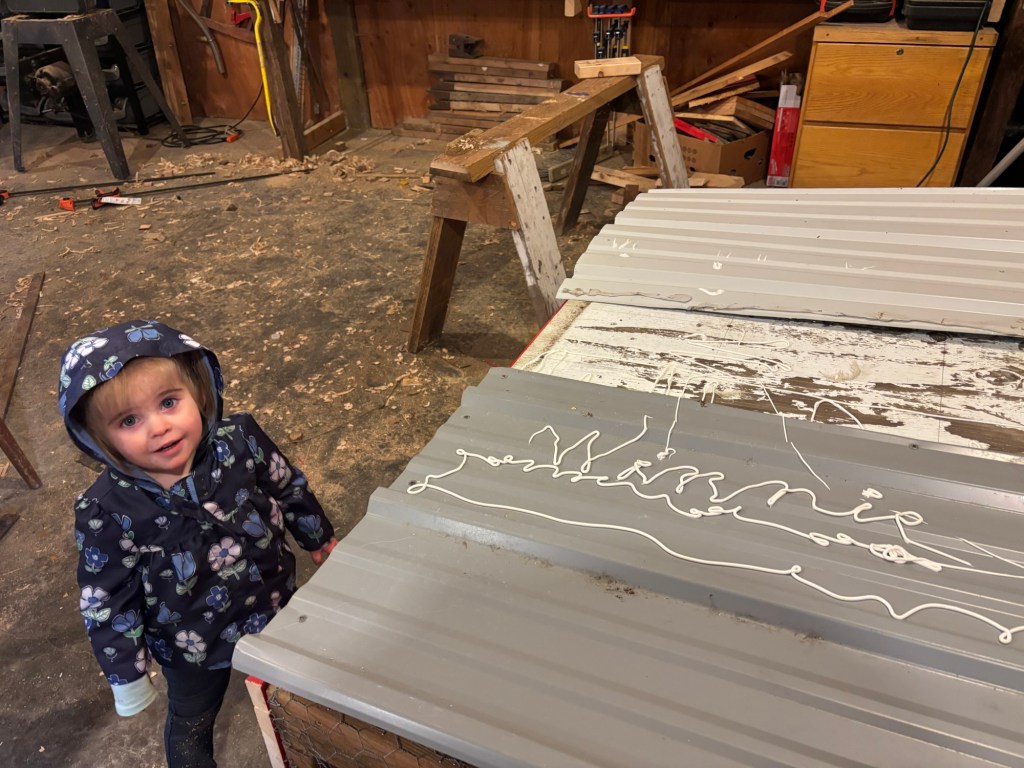
“Cack, cack cack! I a Winnie ducky!”
Almost the last step, gluing on the roof panels.

And weighting them down to make the glue set (and weight test the roof. I think she’ll hold up.)
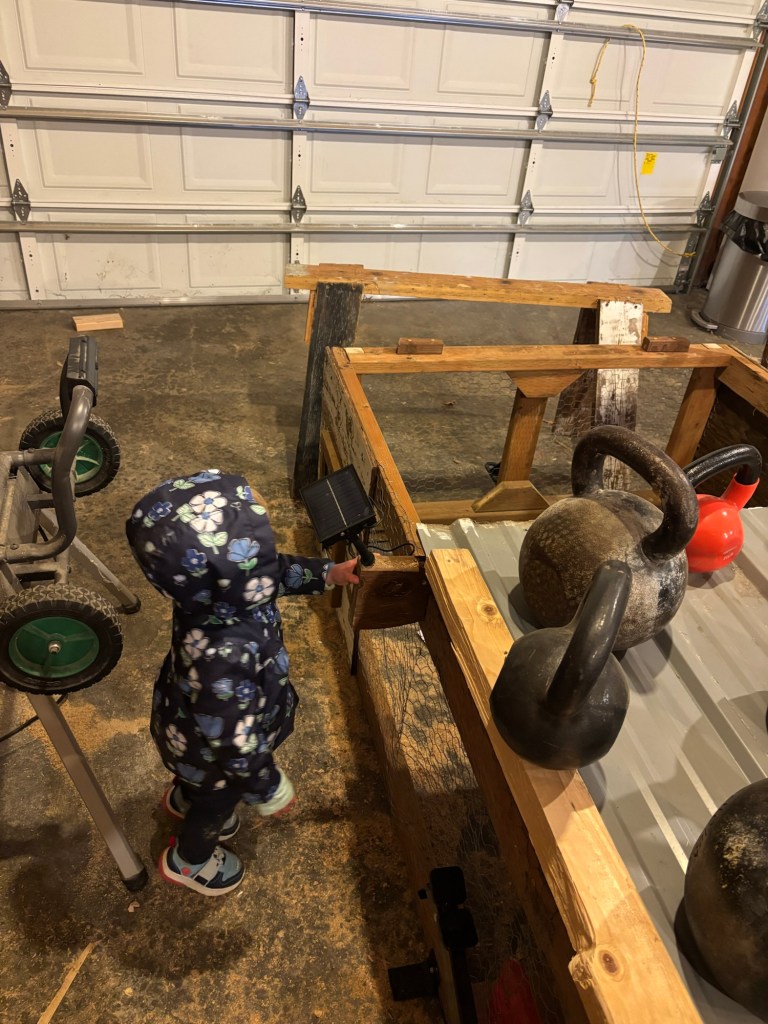
Then installing the solar panel to power the automatic door.

But the glue didn’t bond to the metal, so we ended up having to buy 1″ roofing screws and fasten it that way.

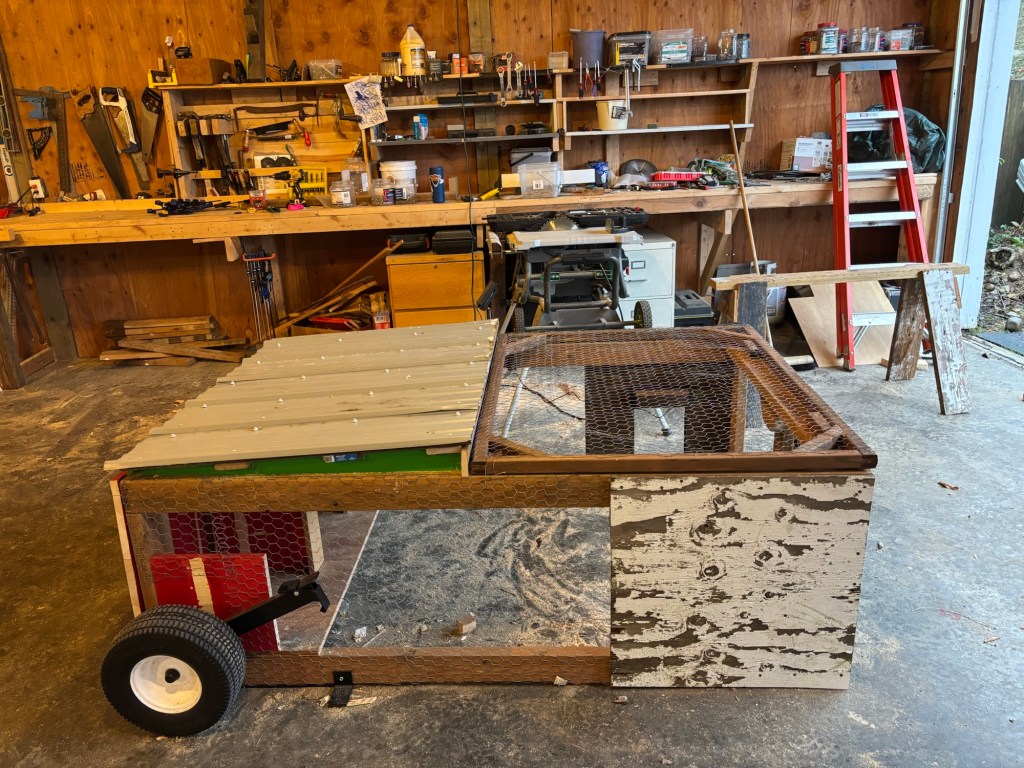
Again, no hinges on the metal roof. It sits in the slots and the weight holds it in place. This one is really too heavy for the kids to lift easily.

But with the wheel lift system, even Seppi and Winnie can pull it over smooth ground.
Now to get the ducks to go into it…
