

Our rainwater catchment system has three parts, in the simplest analysis. Collection, storage, and retrieval. Phase one, and by far the most expensive part, was setting the the storage system, that is, the big 5,000 gallon tank.
Phase two we knock out last weekend, setting up the collection portion of the system. This is the system that takes the rainwater from the shop gutters and puts it into the tank.
The first step was measuring and cutting the first flush diverting chambers. These chambers collect the first rush of water that comes off the roof in a rain shower, with all of the dead bugs, leaves, dirt, etc. This dirty water fills up a tank made of a little over 7 feet of 4″ PVC. As it fills a float ball rises to the top and closes off the top of that tank. After that, the rest of the water runs across the top of the diverter tank and into the rain storage tank.

Driving Seppi anywhere in the afternoon is basically inviting him to take a nap.
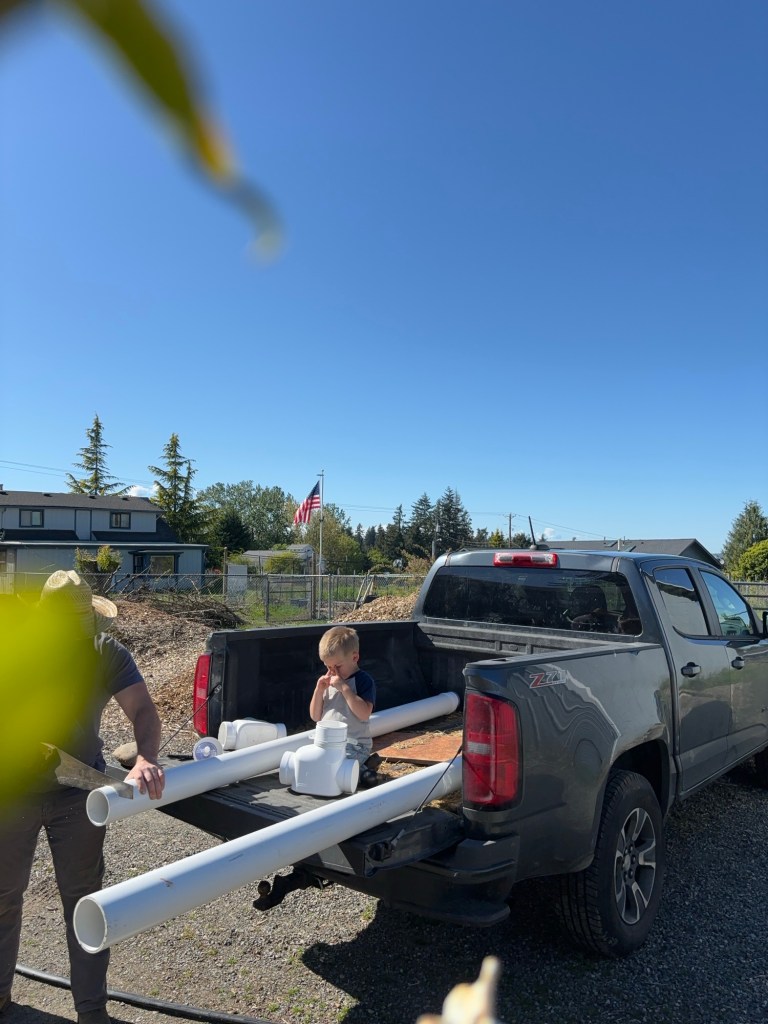
But he wakes up quickly, if a bit cranky at first.

Sizing the first flush diverter tanks to be sure they fit.
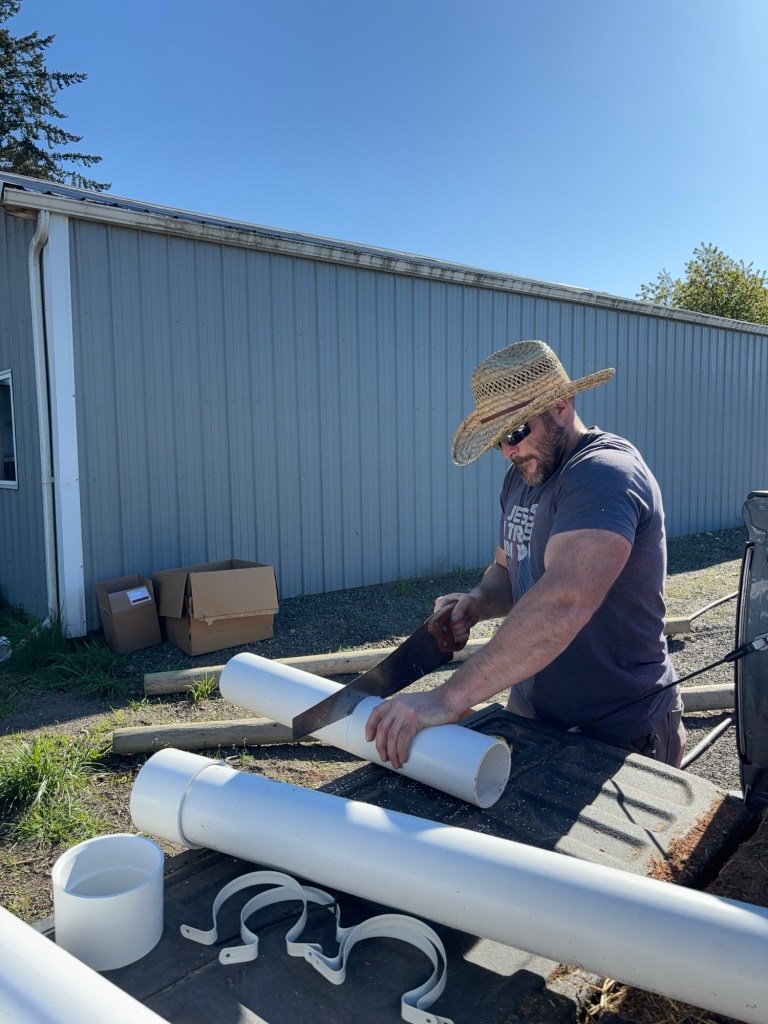
Cutting on the back of the truck is convenient, but not always easy. It does not have a block or work hold solution, so the round pipe tends to roll pretty easily.
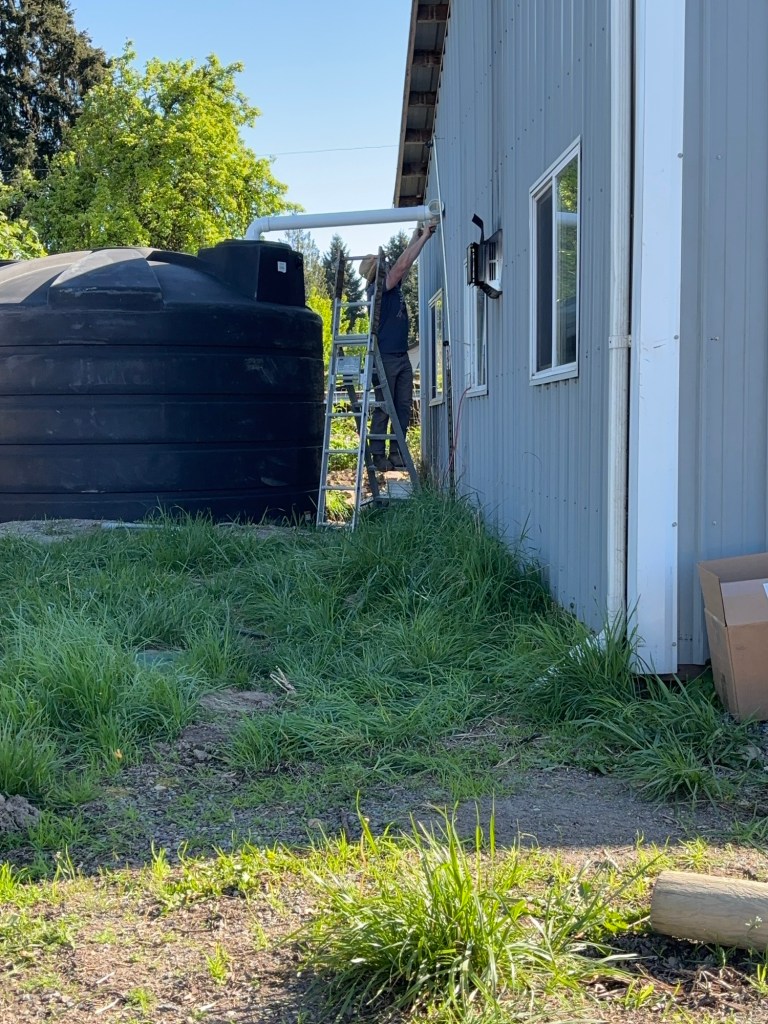
Sizing the downspout. This was the original plan, a simple length of PVC that would connect the cross pipe to the tank, but it ended up not working out according to plan.
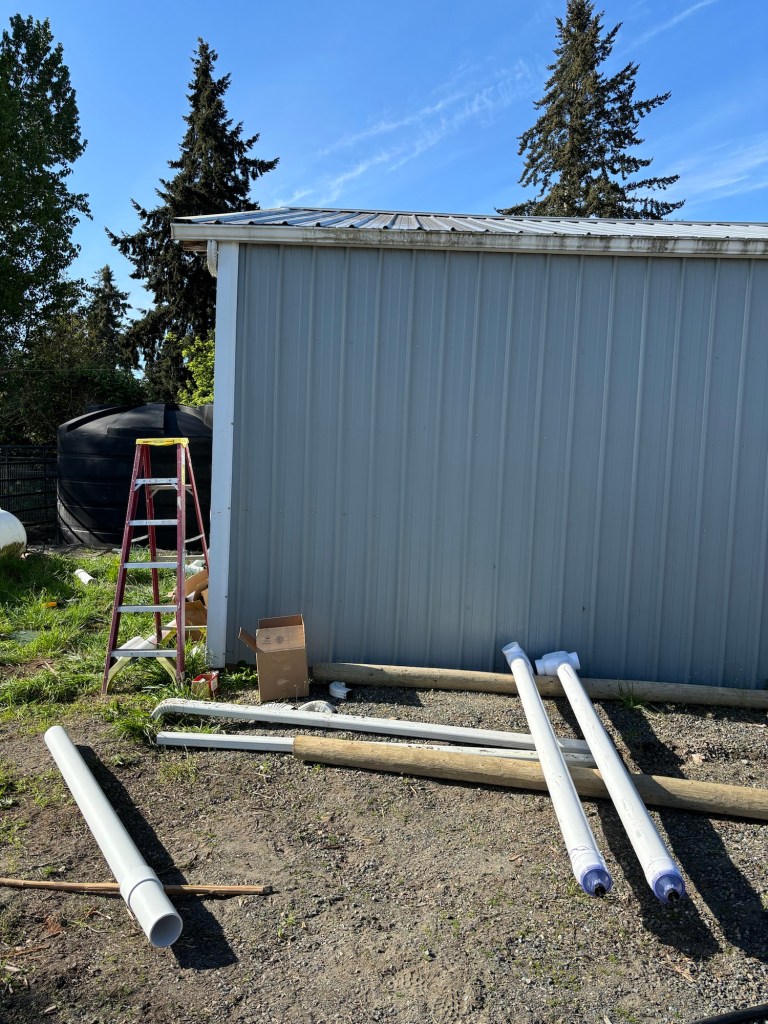
We didn’t get started until later in the afternoon so all we go accomplished was getting the components measured, cut out, and dry fitted. But we were back at it early the next day.
First we glued up the first flush diverters.
That gutter needs to be cleaned out. To attach to the wall we originally planned on using free standing posts to support it without drilling into the wall. However, after cutting one of the posts and experimenting with dry fitting it, it became clear that this was not going to work, without a great deal of extra labor and potentially having to destabilize sections of the pad the shop was built on.
So we decided to get some two hole strap brackets and just attach the pipe to the side of the shop.

We had to reshape the brackets to accomodate the increased distance of the pipe to the wall because of the ribs in the steel siding. This was done easily enough with a hammer and a vise.

Then we put 2×4 spacers between the siding and the upright posts.
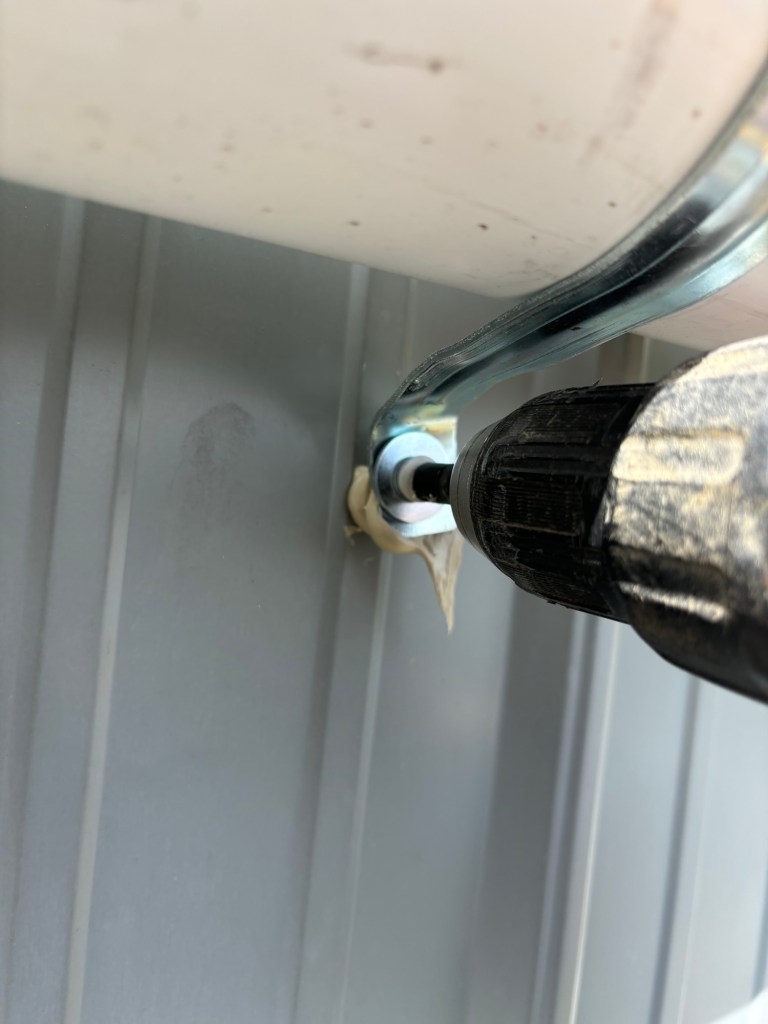
After that, each bracket was attached using 3″ roofing screws drilled through the siding, through the 2×4 spacer and into the 4×4 or 4×6 upright post.
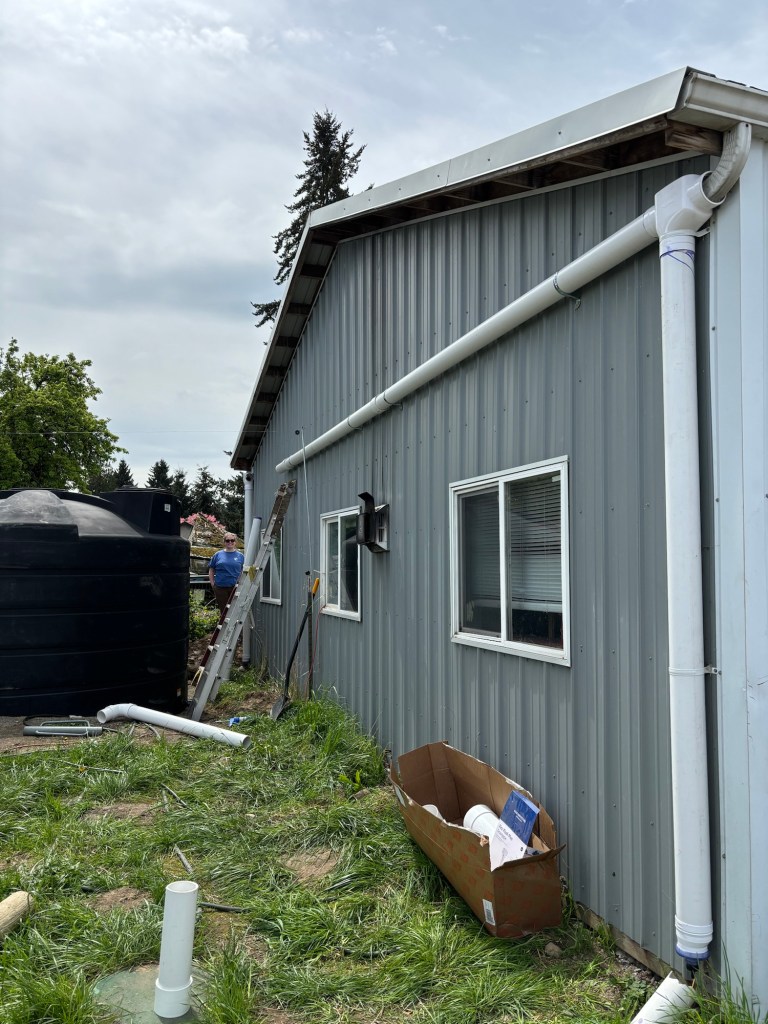
Once we got the method down, attaching the pipe was pretty quick.

We made sure it had about a 3% downward slant to encourage water to run towards the tank.

Shhhhh…! It’s a deer in the neighbor’s junkyard… I mean lawn!
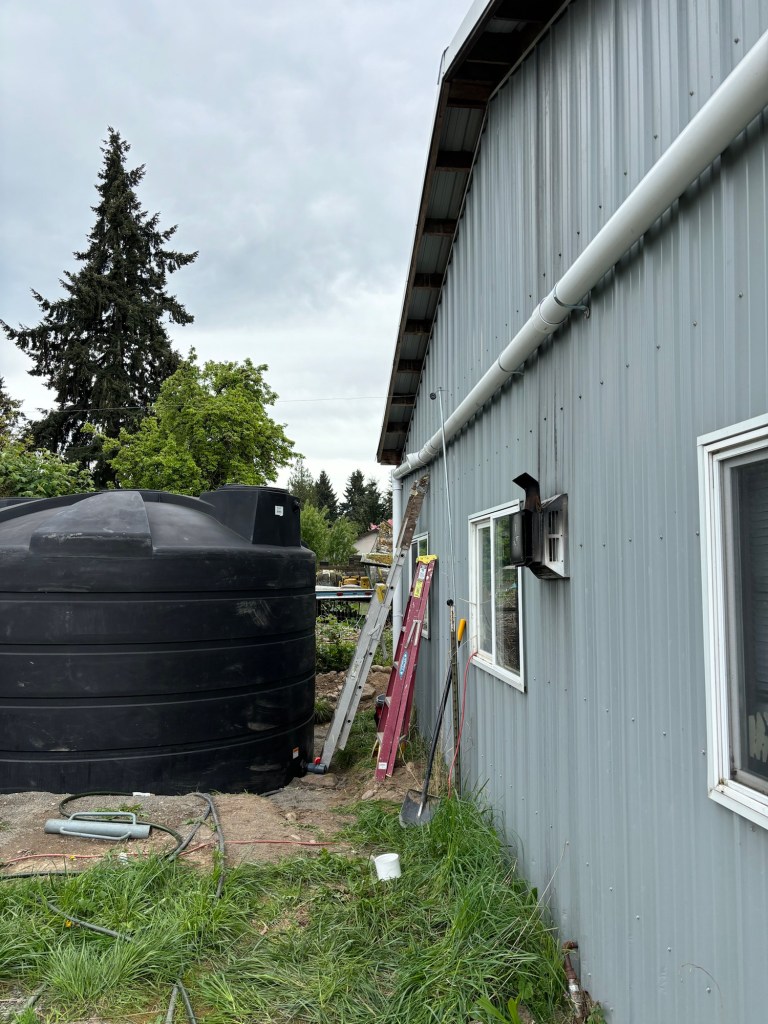
The last, most ticklish bit of the process was getting the far diverter tank and the T connector put up. This required two people on two ladders, gluing up two joints at the same time with one set of glue/primer pots. Unfortunately, the angle of the T connector ended up being sloped downward a few degrees too far. The PVC connector would

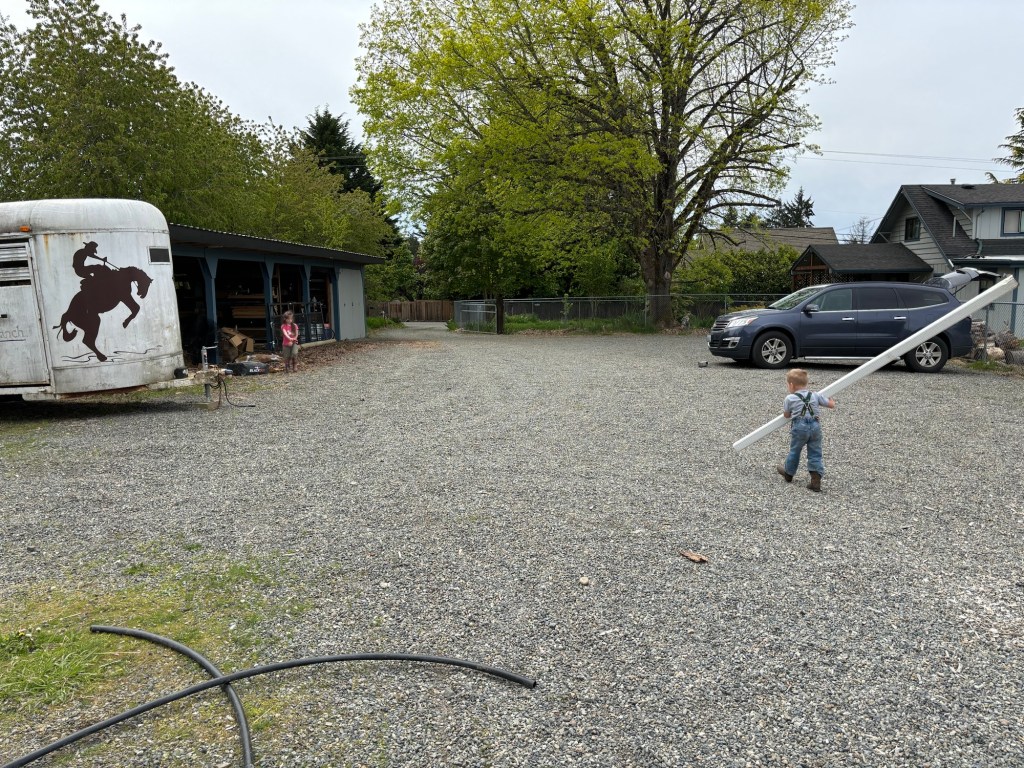
So for now, since we were running out of time, we added a makeshift downspout using some of the old gutter.
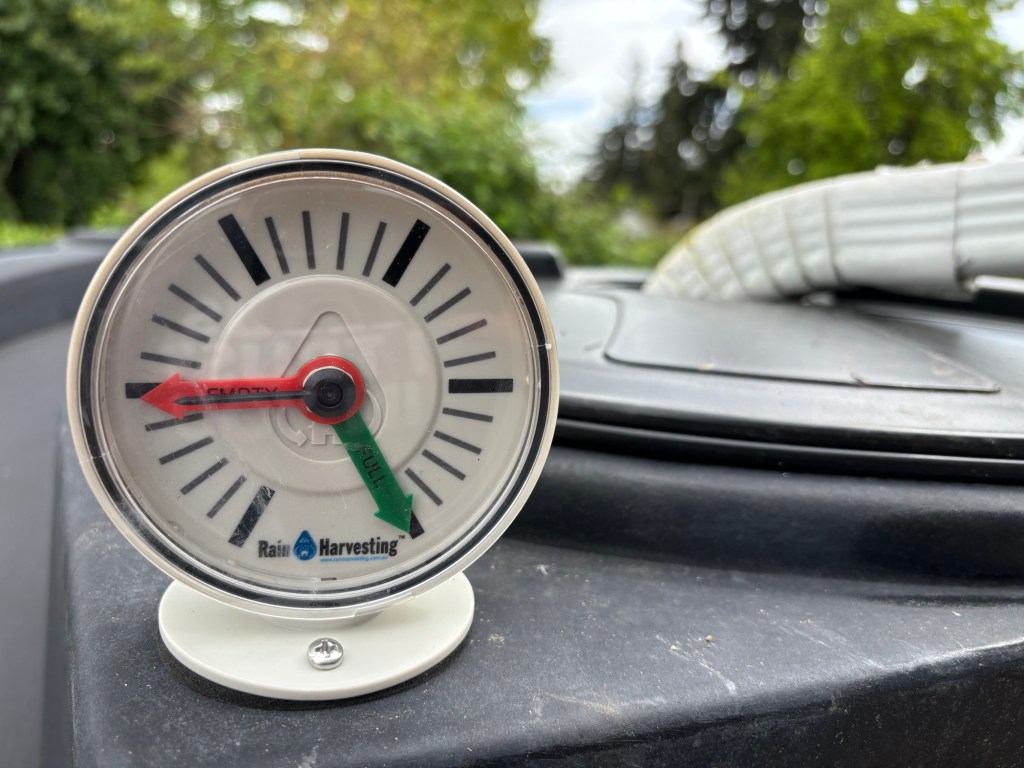
But we did install a fill-gauge!
Then it was time to put our tools and materials away and go home.
Next we will have to modify the system with some sort of flexible coupler between the T-connector and the tank. Shouldn’t be too difficult.
Then phase III will be setting up the pump and pressure tank and splicing them into the existing pasture system, with a cuttoff to prevent water from returning back into the current supply from the house. That will have to wait a few months though, most likely.
