

The thermometer in the shop where we were keeping the pumpkins, squash and onions read 30 degrees after the propane stove failed. While the pumpkins and squash might be salvagable, the onions are almost certainly lost. As soon as they thaw they are going to turn into a nasty slimy mess. I suppose then we will find out if our pigs like onions. I hope they do, because few things smell worse on a compost heap than rotting onions.
Unless it’s rotting potatoes. Those are just the worst.
But, like I said, the squash might be salvageable, if we can get it preserved before it starts to thaw and go soft. When we were at the farm on Monday we brought home three of the larger yellow pie pumpkins. At least, we thought they were yellow pie pumpkins. Looking back at our seed orders, we can’t find a record of buying any pumpkins that match that description, so it is possible they were a seed saving experience, in which case… who knows?
They are yellow with green stripes, shaped like pumpkins, about 10 lbs each, but with yellow stringy flesh like a spaghetti squash. The flesh tastes a bit like spaghetti squash as well, sweet and mild, without the strong pumpkin flavor we got from our New England Pie pumpkins.
It is not hard at all to process winter squash or pumpkin. We have found that the turkey roaster works well, and then we don’t have to tie up the oven all day.

It can sit on the side table, all by itself, and steam away all day while other projects go on all around it. We put a cooling rack in the bottom and about half an inch of water. Then we add the slices of pumpkin or squash, cut small enough so that they do not touch the sides of the roaster. Wherever they touch the sides they will caramelize and eventually burn on to the side. Set temp to 350 and cover it.
After an hour or so we check it again, and if a spoon slides easily between flesh and rind, it is done. If the spoon slides easily through the rind, it is over done, but it does no harm. We scrape the flesh off into a colander and leave it in the sink to drain out excess water. Then it can either be vacuum packed and frozen as is, or it can be rolled up in a towel and wrung out to make dry mash. Dry mash is better for things like cookies, where extra moisture is really going to throw off the recipe, but be aware, if you decide to wring it out you can very easily reduce it to about a third of the original volume without breaking a sweat, not surprising, since pumpkins are about 90% water.
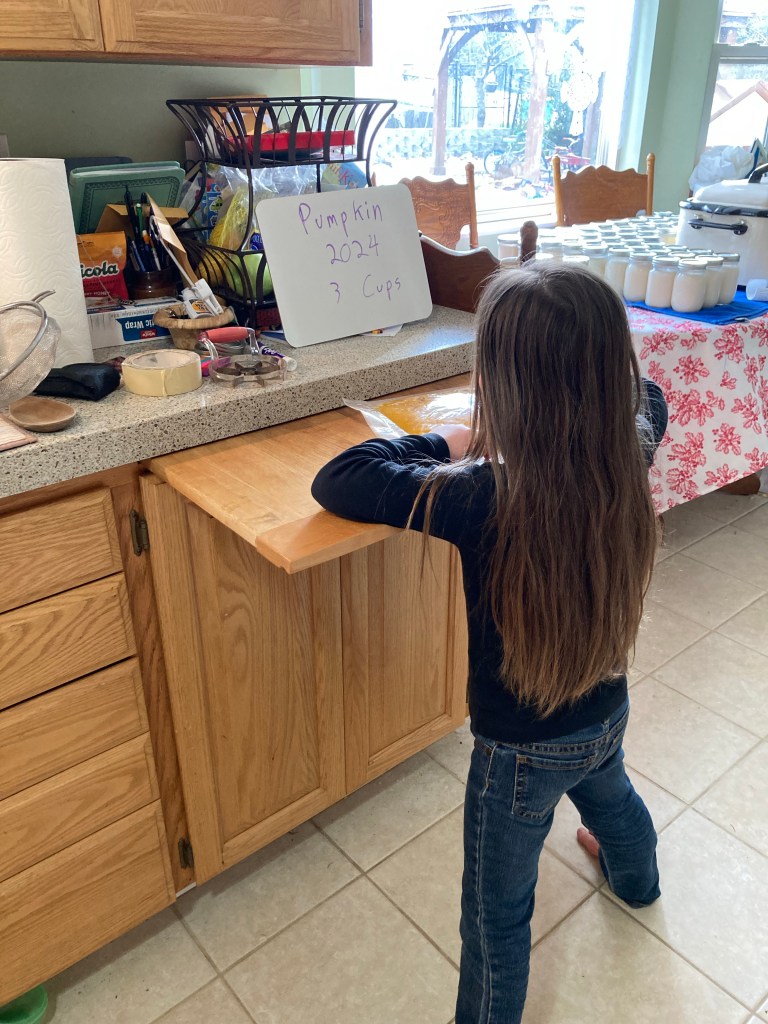
It takes about 3 cups to make one 9 1/2 inch pie, (a small amount will be left over, as you will see) so we vacuum packed the mash in 3 cup bags.
Ellie doesn’t just label. She decorates.
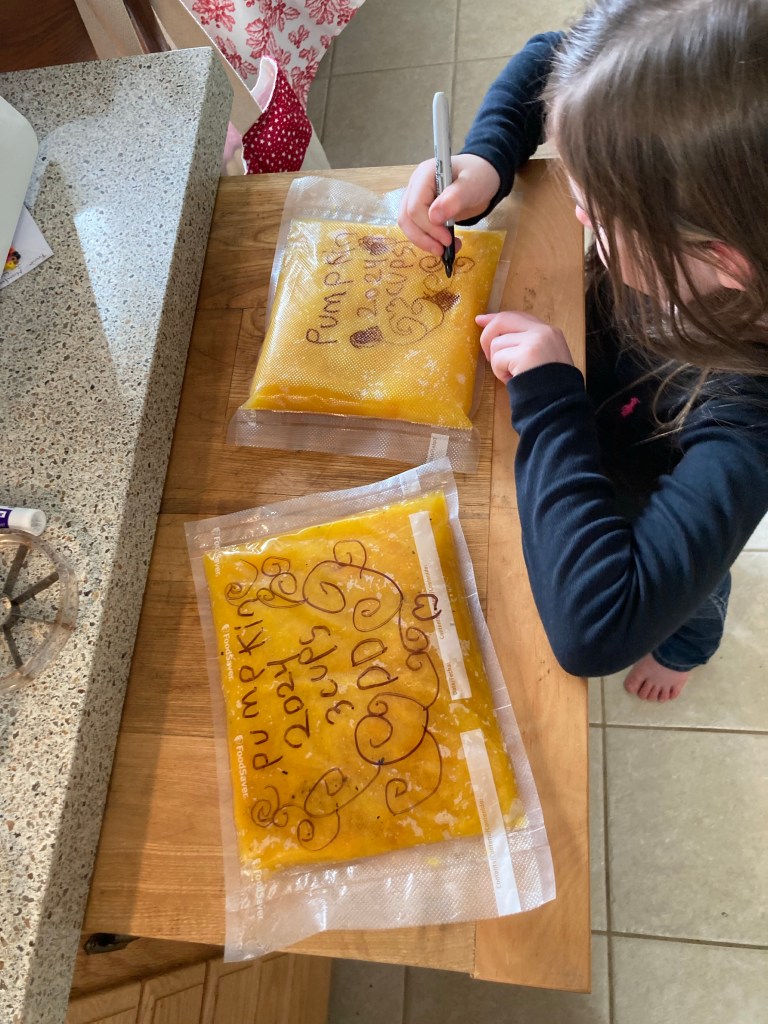
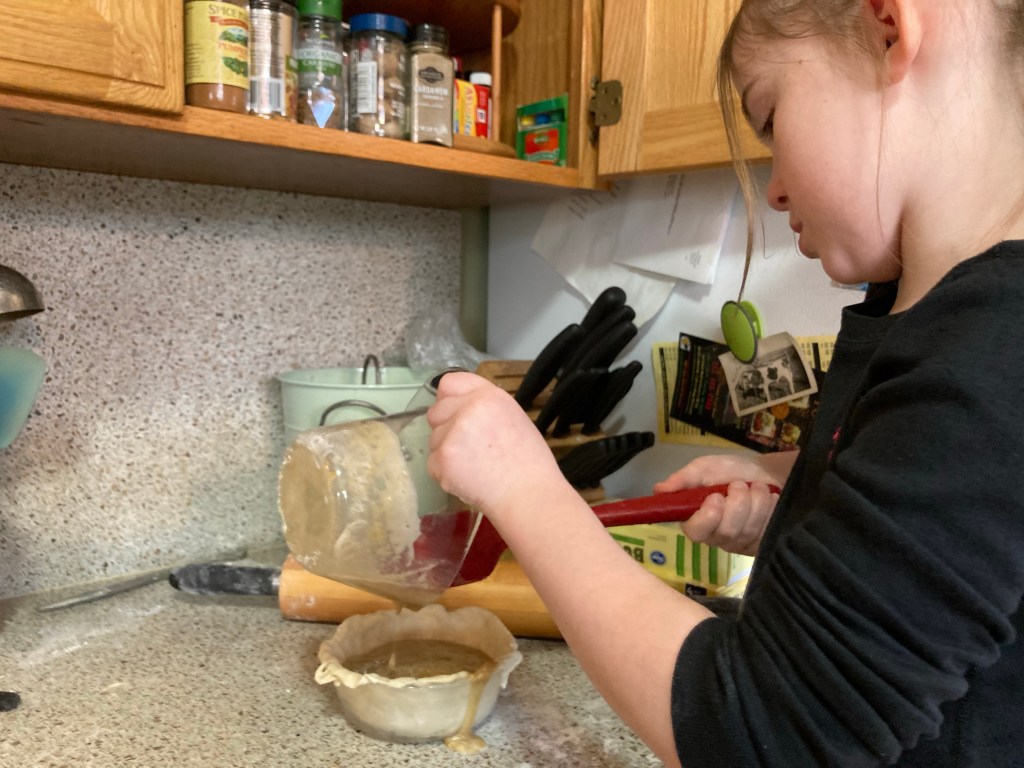
We filled five bags, but decided to make pie with the last 3 cups, since we had some leftover pie crust (check out Kathleen’s blog to learn how to make a Grandma Shirley’s 3 ingredient crust).

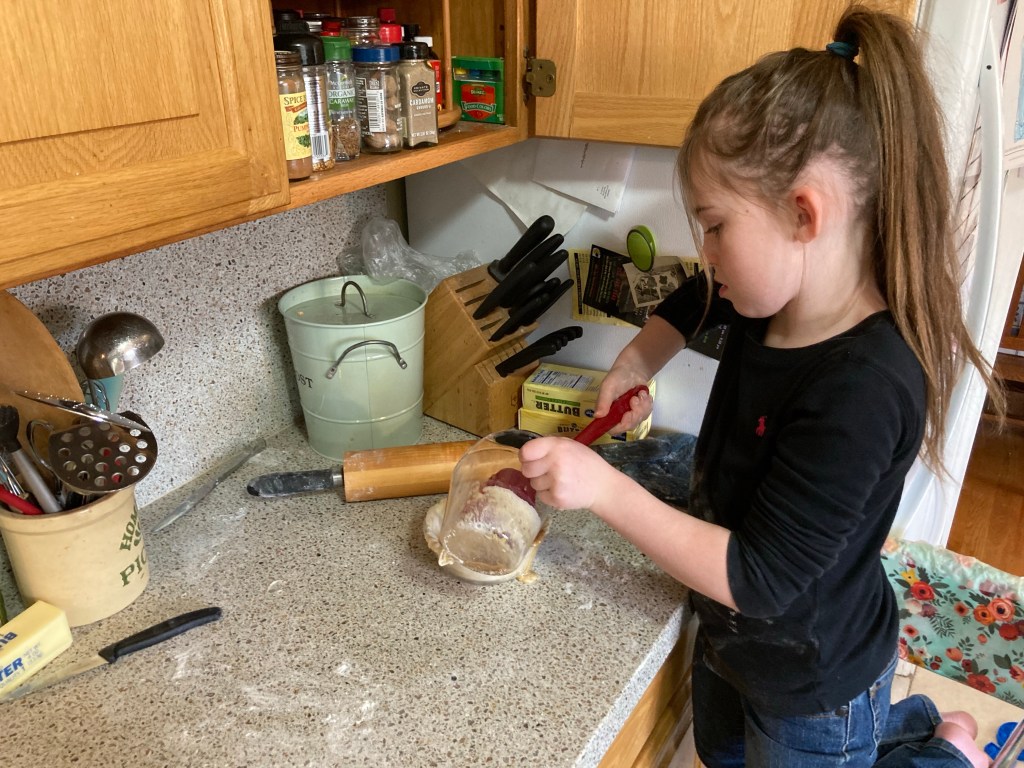
Ellie loves using the electric hand mixer, but Daddy took one look at that and had a vision of her long, beautiful hair getting wrapped up in the beaters. So we took a pause to get that put up and out of the way.

Roll out the dough on a floured surface. I am always amazed at how thin the dough can roll without tearing.

After (almost over)filling the pie, there was both crust and filling left over, so Miss Ellie made her own little pie.
Worked out perfectly.
We subsequently donated the little pie to Uncle Adam, who pronounced it “Delicious.”

One of the most important parts of learning to bake is learning to clean up after yourself.

The pies tuned out a little overly sweet. Without the strong pumpkin flavor, the milder squash flavor doesn’t compete with the sugar, molasses and spices the pumpkin pie recipe calls for.
And there you go. Two “pumpkins” preserved. Plenty more where that came from.
Lesson learned, we need to come up with a better storage plan for our squash and pumpkins next year. Also, let’s not plant saved seed from open pollinated varieties without some control of pollination.
